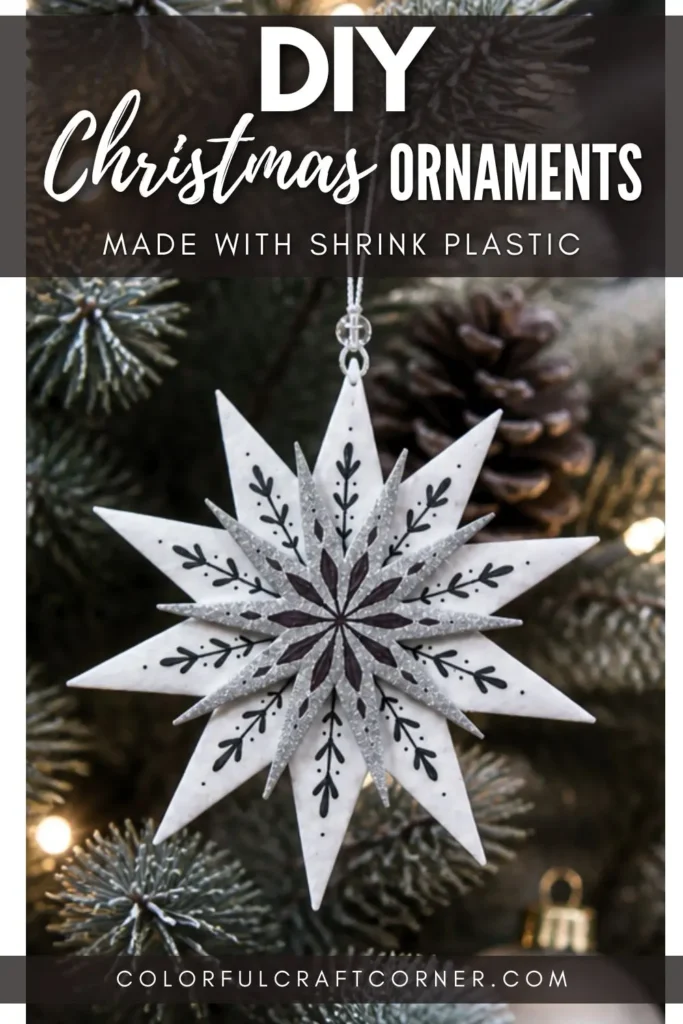
Easy and Chic Shrink Plastic Christmas Ornaments
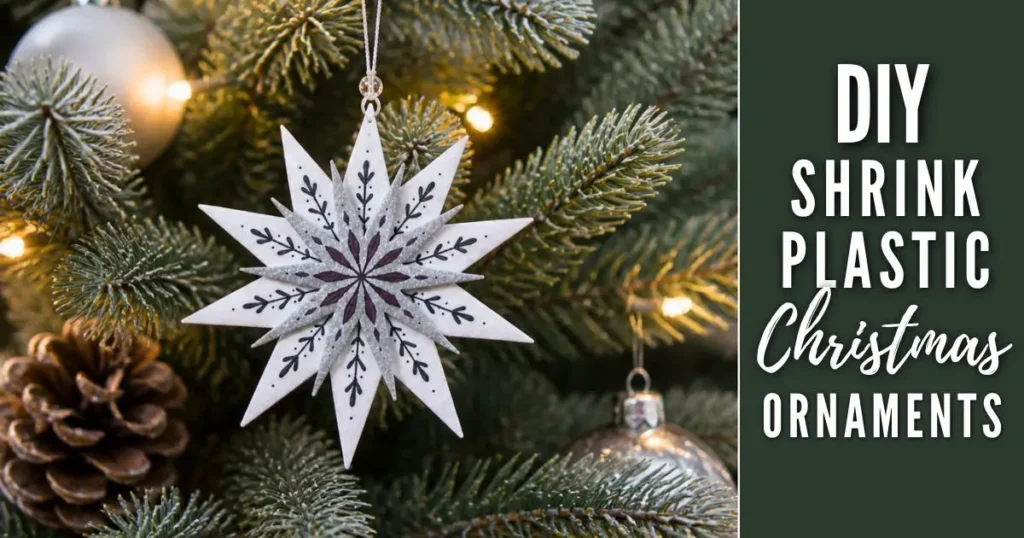
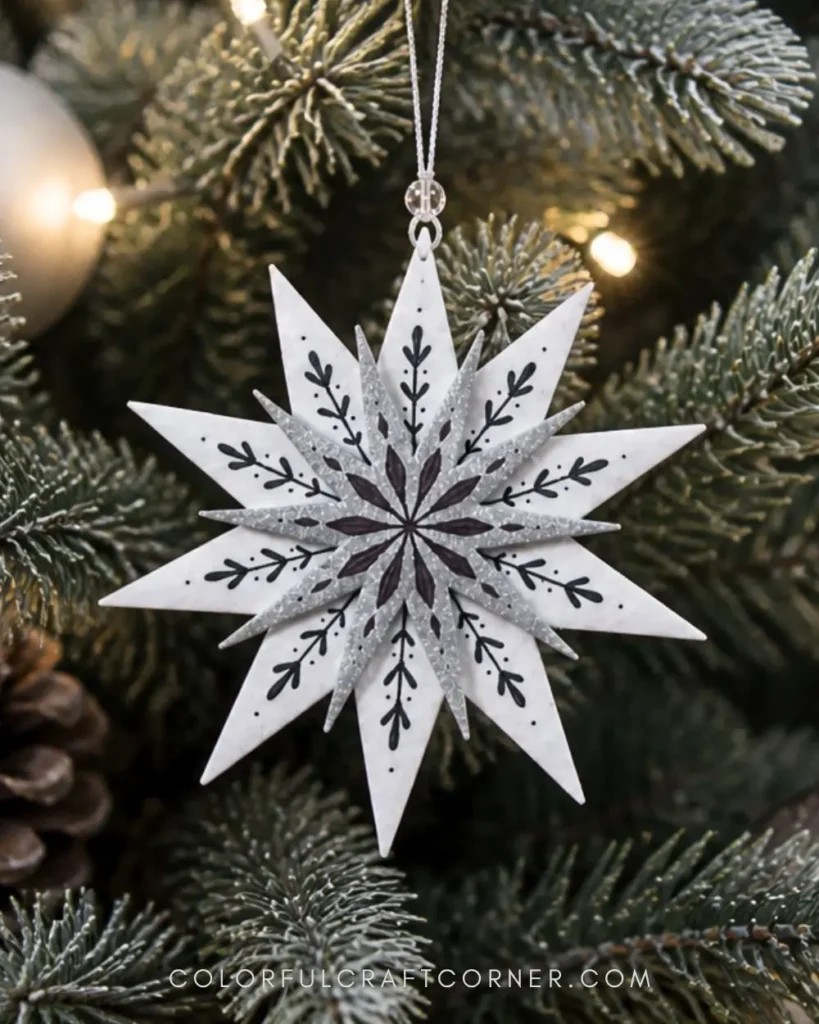
In this post, I’ll show you how to make DIY shrink plastic Christmas ornaments that are both easy and elegant. These chic star ornaments can be customized to perfectly match your Christmas tree and holiday decor. They also work beautifully for wreaths, garlands, or as thoughtful handmade gifts.
Shrink plastic (also known as shrinky dinks) is surprisingly easy to work with. You only need a few simple tools—pencils or permanent markers, scissors, and an oven or heat tool. Even though many shrink plastic kits are marketed for kids, they’re also incredibly fun and versatile for creating modern, stylish Christmas crafts for adults.
I can’t recall the first time I came across shrinky dinks, but I remember being completely fascinated. I immediately started searching for where I could buy them. Happily, they were available in my country (which isn’t always the case with craft supplies I see online), so I picked up a pack of transparent sheets.
Later, I discovered black-and-white sheets, and eventually metallic silver and gold ones. I used black shrink plastic to make a DIY hanging earring holder and white sheets for keychains with my son. But I couldn’t quite figure out what to do with the metallic ones… until now. These DIY star Christmas ornaments turned out to be the perfect project for them.
If you prefer watching instead of reading, you can check out the video tutorial below. Otherwise, keep scrolling for the full step-by-step guide, tips, and ideas.
DIY Shrink Plastic Christmas Ornaments Video Tutorial
Tools and Supplies
- White and silver shrink plastic (or any colors you prefer)
- Star templates (download mine or create your own)
- Scissors
- Pencil
- Permanent markers
- Hole punch
- Super glue
- String or ribbon
- Beads (optional)
- Oven (with baking tray) or heat gun
Step-by-Step Tutorial
Prepping the Templates
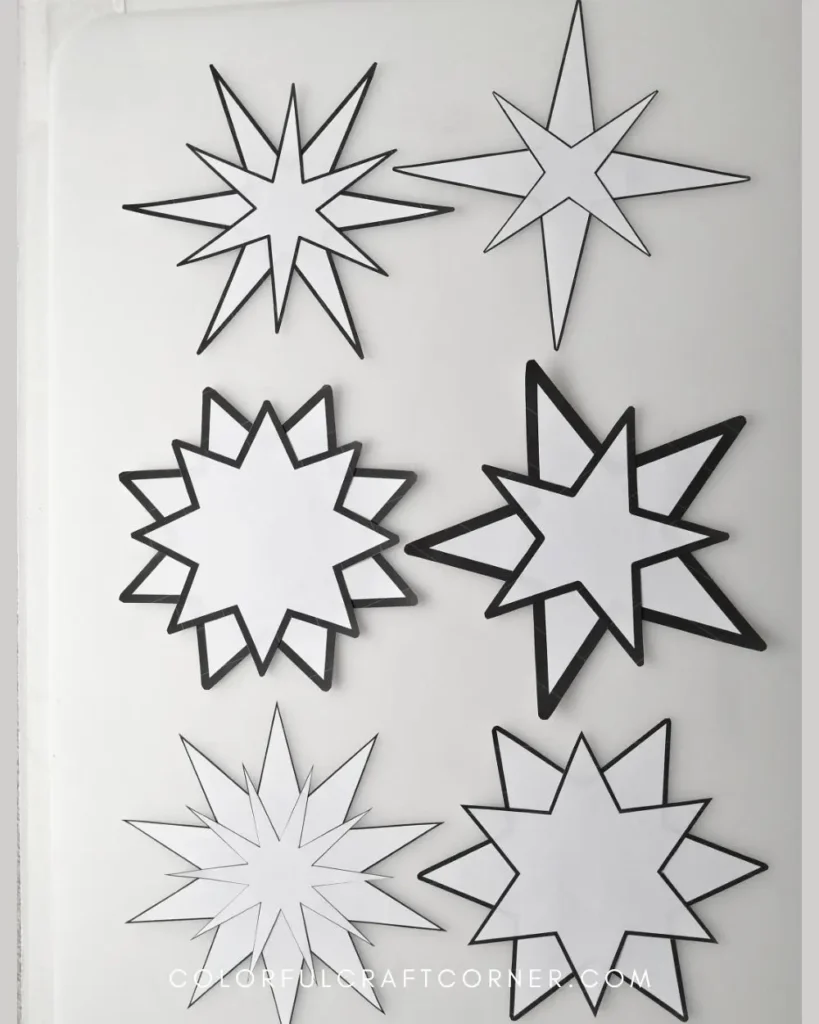
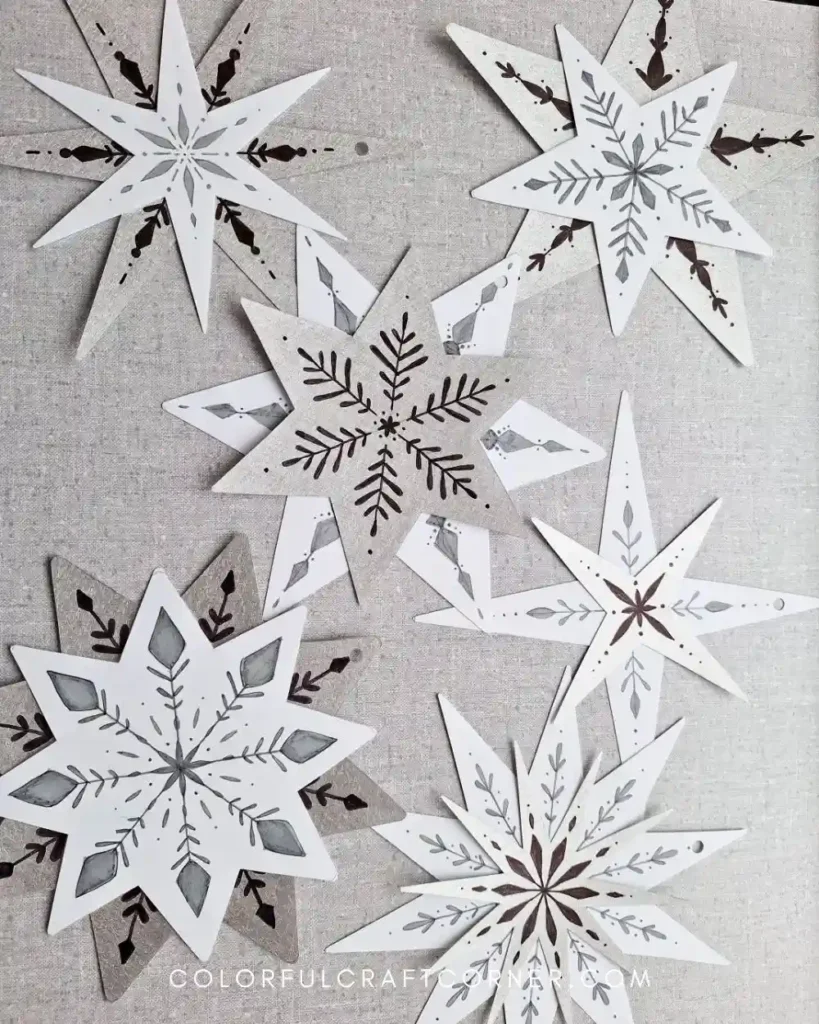
I wanted to create two-toned, layered ornaments, so I designed star templates in two different sizes to stack them.
To make each ornament unique, I created several variations:
- Four-point star
- Five-point star
- Two six-point stars
- Eight-point star
- Ten-point star
The templates don’t include patterns because the shrink plastic sheets I used were opaque, so I couldn’t trace designs underneath. Also, I honestly came up with most of the patterns as I was drawing—it’s a fun, creative process!
If you are interested, you can check out my blog post with lots of free downloadable shrink plastic templates. You can use them with transparent shrink dinks or get some printable shrinky plastic sheets.
That said, you don’t have to make layered ornaments. Single-layer stars or even snowflake shapes would look just as beautiful. If you’d like more guidance, you can use traceable templates or printable designs.
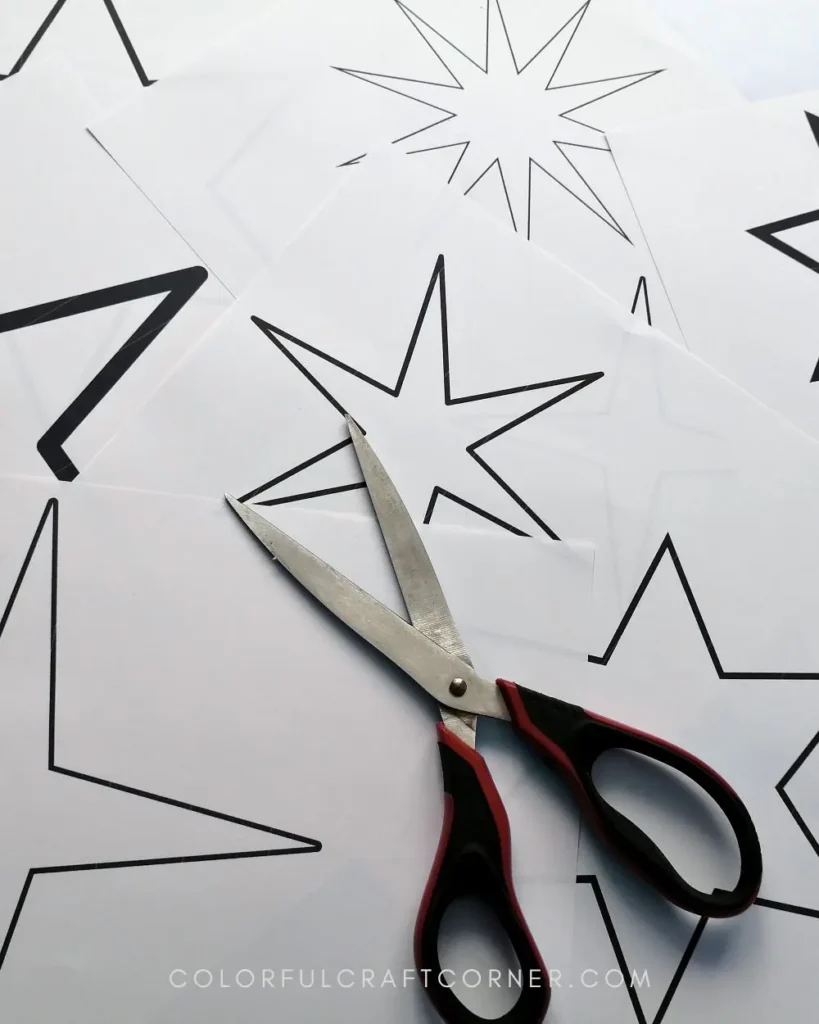
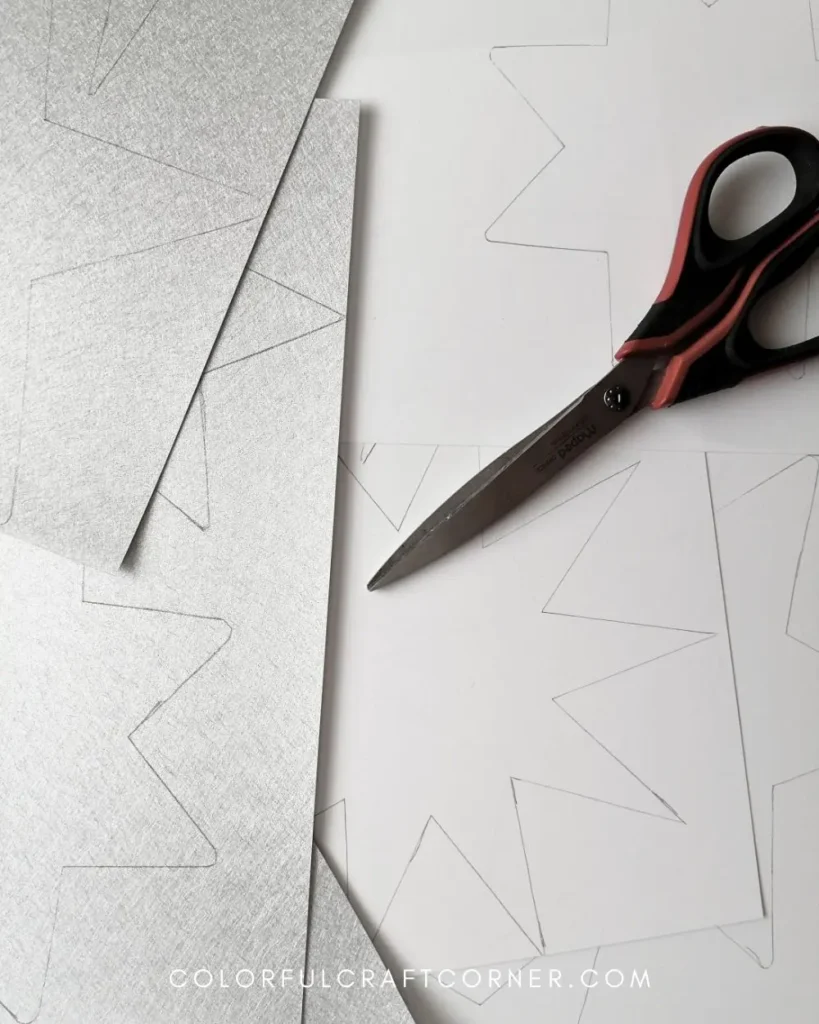
Cutting the Star Shapes
Start by printing and cutting out your paper templates. Place them on the shrink plastic sheets (pairing a small and large star if layering) and trace them with a pencil.
I used a total of six pieces—three white and three silver sheets.
Once traced, carefully cut out the shapes. I recommend rounding the sharp points slightly. When the shrink plastic shrinks, the edges become thicker and sharper, so this small step makes the ornaments safer to handle (especially around kids).
Adding the Design
This is where you can really get creative.
You can:
- Follow my design ideas,
- Create your own patterns,
- Look up star or snowflake inspiration.
I recommend sketching your design lightly with a pencil first so you can make changes easily. Try not to press too hard, as deep lines are harder to erase.
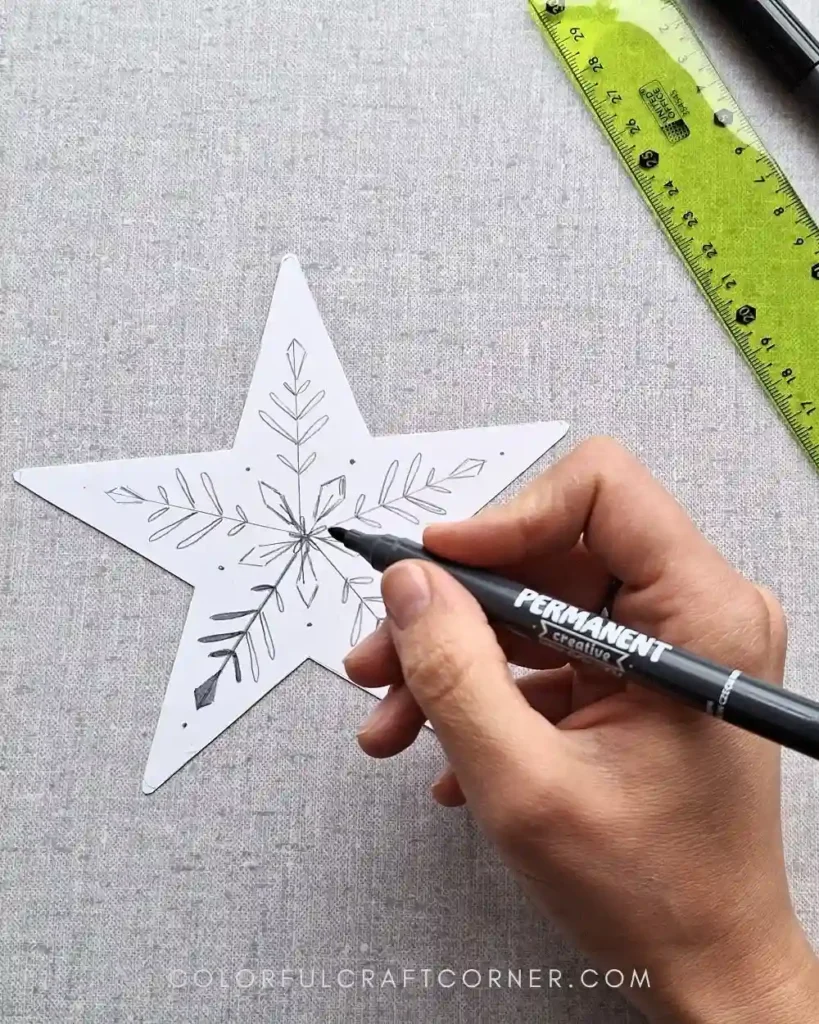
Once you’re happy with your design, trace over it using permanent markers. I used grey and black, but any color works.
Tip: Glitter or metallic markers look especially beautiful on white or black shrink plastic.
If you don’t have markers, you can also use colored pencils. The result will be softer, but still lovely if you apply enough pressure.
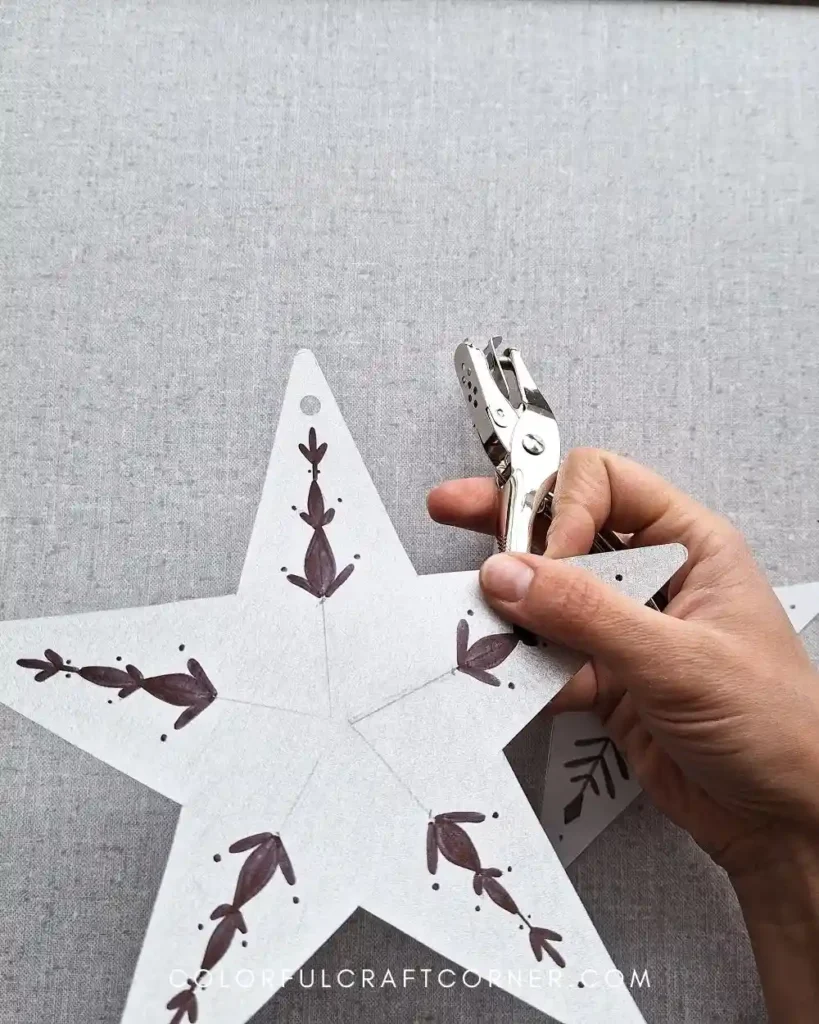
Shrinking the Ornaments
Before shrinking, don’t forget to punch holes for hanging—this is much harder to do afterward.
I used a standard hole punch, and the holes turned out perfectly sized after shrinking. A leather punch tool works as well.
To shrink the ornaments:
- Preheat your oven according to the package instructions.
- Line a baking tray with parchment paper.
- Place 2–3 pieces at a time (don’t overcrowd!)
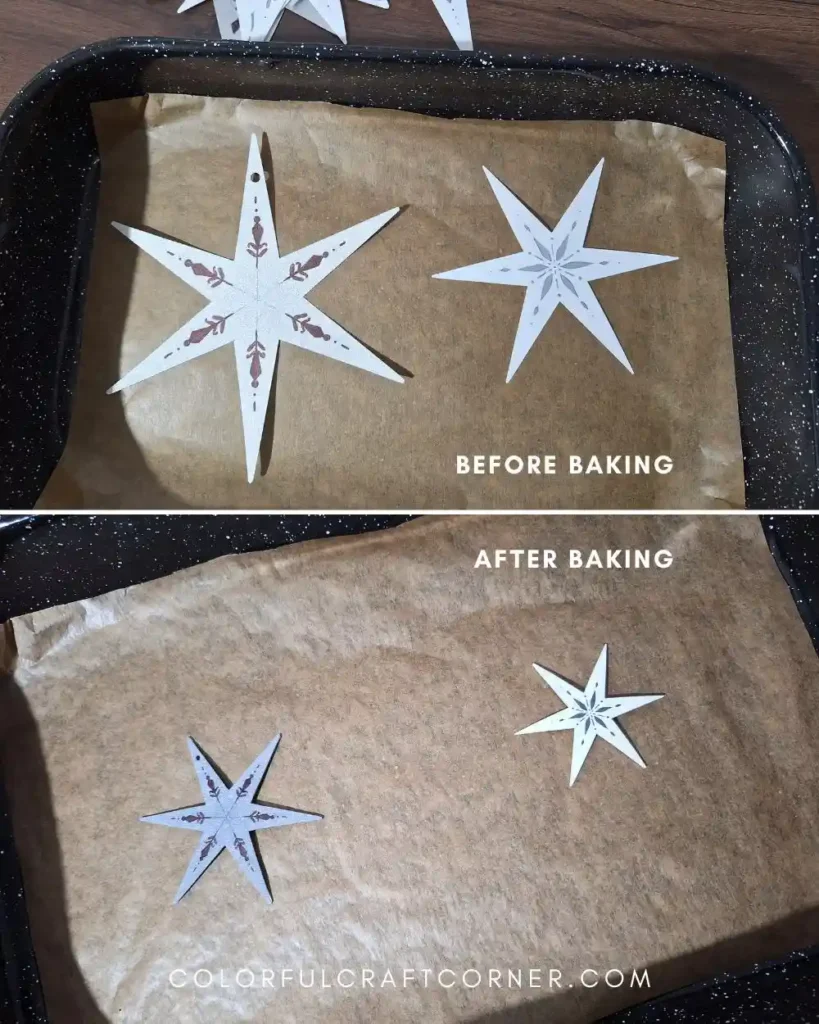
As they heat, they will curl and move—this is completely normal (even if it looks a bit alarming at first!). They will flatten out again as they finish shrinking.
If needed, you can press them flat between parchment sheets with a heavy book while they’re still warm.
If using a heat gun, shrink them one at a time, holding each steady with a heatproof tool.
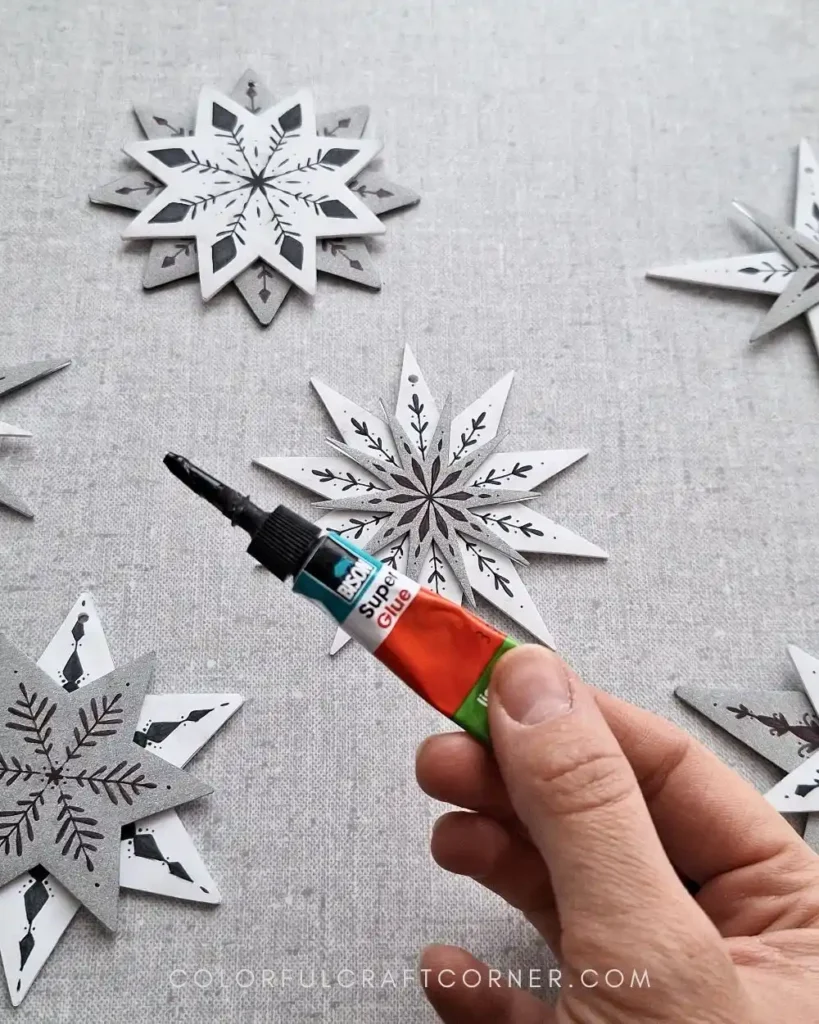
Assembling the Star Ornaments
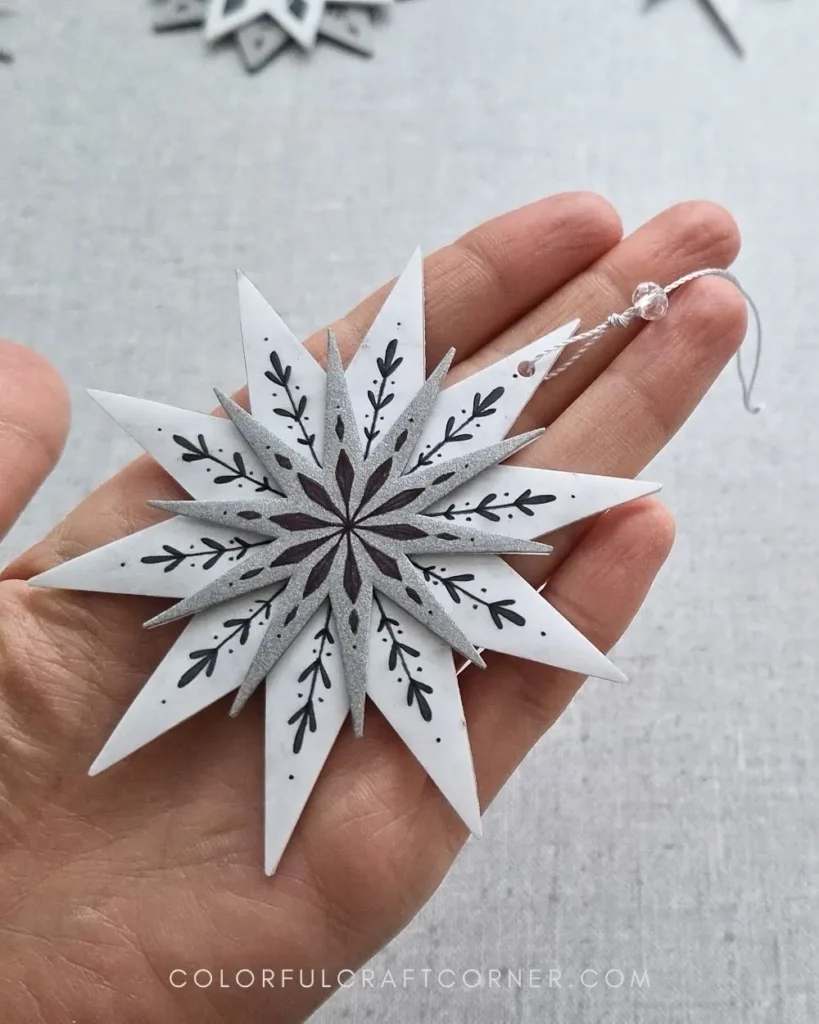
Once cooled, thread a string or ribbon through the hole.
I used a silver string and tied a knot just above the star to keep decorative beads in place. Then I added crystal beads and finished with another knot at the end of the string.
These small details really elevate the look and give your DIY Christmas ornaments a more polished, elegant finish.
And that’s it—your ornaments are ready to hang!
Helpful Tips for Best Results
- Cut carefully around detailed areas. Shrink plastic can crack if there’s too much tension, especially around inward corners (like the center of stars). I like to cut from the outside toward the corner from both sides to reduce stress on the material.
- Use the right pencil. An H pencil works best because it makes lighter lines that are easier to erase. Softer pencils (like B pencils) create darker lines but smudge more easily.
- Keep your surface and hands clean. This is especially important when working with white shrink plastic. Smudges and fingerprints might not be visible at first, but they often show up after shrinking when the pigments become more concentrated.
To prevent this, wash your hands before starting, wear gloves, or place a piece of paper under your drawing hand while working. - Don’t forget to round sharp edges. After shrinking, the plastic becomes thicker, and edges can get surprisingly sharp. Slightly rounding the tips makes your ornaments safer to handle.
- Always punch holes before shrinking. It’s much harder (and sometimes impossible) to add holes afterward.
- Seal for durability and shine. You can apply a varnish or UV resin to protect your ornaments from dirt and give them a glossy finish.
Some sealants can cause permanent marker ink to bleed, so always test on a scrap piece first. - Add extra embellishments. Rhinestones, nail crystals, or beads can really elevate your ornaments. You can attach them with super glue, and for extra durability, seal over them with a thin layer of UV resin.
Everything You Need to Know About Shrink Plastic Ornaments
What is shrink plastic, and how does it work?
Shrink plastic is a special material that shrinks and thickens when heated, making it ideal for durable, detailed craft projects like ornaments, keychains, and even jewelry.
How much does shrink plastic shrink?
It typically shrinks to about one-third of its original size, while becoming thicker and more vibrant.
Can I use a heat gun instead of an oven?
Yes, but it’s easier to control results with an oven, especially for multiple pieces.
Why does shrink plastic curl?
Curling is normal during heating—it will flatten again as it finishes shrinking.
What can I use to color shrink plastic?
There are several great options for adding color and designs to shrink plastic, depending on the look you want:
- Permanent markers – Great for bold, crisp lines and detailed patterns
- Colored pencils – Perfect for softer, more subtle shading
- Acrylic paint – Ideal for opaque designs and solid color areas
- Soft pastels – Great for blended, gradient, or slightly textured effects
Each medium creates a slightly different finish, so feel free to experiment and combine them to achieve your desired style.
Can I seal shrink plastic ornaments?
Yes—use varnish or UV resin for protection and shine (always test first).
Are these ornaments beginner-friendly?
Absolutely! This is an easy Christmas craft suitable for beginners and even older kids (with supervision).

Final Thoughts
I hope you enjoyed this tutorial on DIY shrink plastic Christmas ornaments. This project is simple, creative, and incredibly satisfying—especially when you see your designs transform in the oven.
What I love most is how customizable they are. Whether you prefer minimal, modern designs or something more detailed and festive, you can easily create ornaments that match your personal style.
It’s also a wonderful project to make with family or to create handmade gifts that feel truly special.
Other DIY Christmas Ornaments you may like:
- Fun Ways to Make Air-Dry Clay Christmas Ornaments
- Easy and Chic Wire and Nail Polish Mini Wreath Ornaments
- DIY Toilet Paper Roll Snowflakes