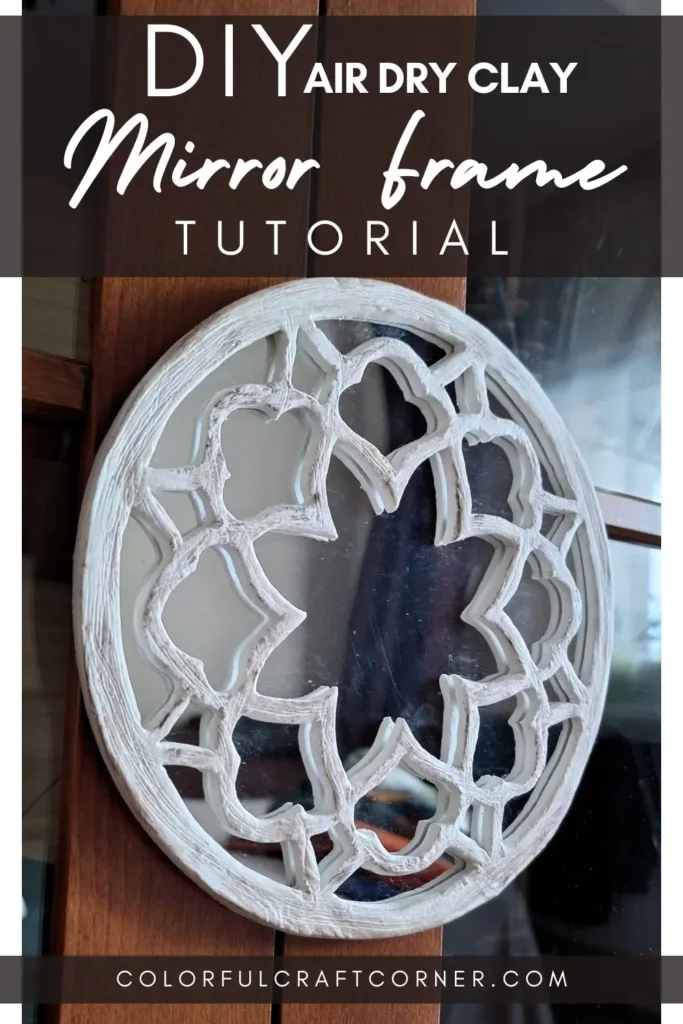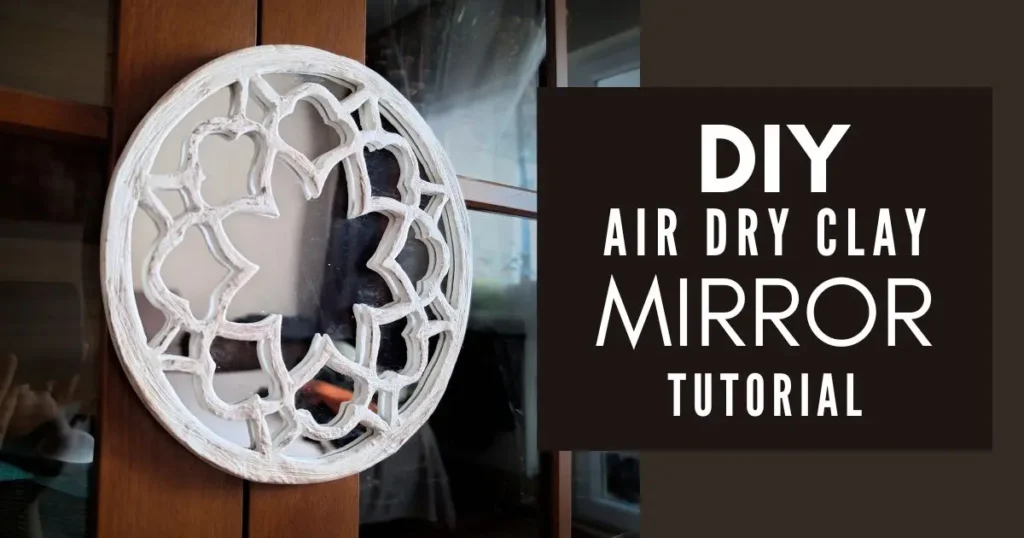
In this post, I will show an easy step-by-step tutorial for making a DIY air-dry clay mirror frame. This fantastic rustic decorative mirror is a perfect accent piece for your walls, and you can customize it to your style.
I’ve always wanted a decorative mirror, but here in my country, you can’t easily find them in stores, or if you do, they’re super expensive. Not to mention, I also couldn’t find one that I truly liked.
I’ve decided to make one using air-dried clay and an acrylic mirror sticker to make it lighter. If you are familiar with my blog, you may already know that I love mandalas and regularly create mandala crafts. When I saw this mandala-like rustic mirror on Ufurnish, I had to make it. I created a template and grabbed a batch of air-drying clay.
Now, let’s get into the tutorial!
Video Tutorial
Prefer to watch? See the full step-by-step video below, and keep scrolling for detailed written instructions and extra helpful tips.
This DIY air-dry clay mirror frame tutorial is perfect if you prefer visual step-by-step instructions.
DISCLOSURE: THIS POST MAY CONTAIN AFFILIATE LINKS, MEANING I GET A COMMISSION IF YOU DECIDE TO MAKE A PURCHASE THROUGH MY LINKS, AT NO COST TO YOU. PLEASE READ MY DISCLOSURE FOR MORE INFO.
Tools and supplies:
- air dry clay (I used DAS),
- round mirror (I used an acrylic mirror sticker),
- template + inkjet printer,
- rolling pin (+guide rings or wooden dowels),
- silicone craft mat,
- x-acto knife,
- scraping tool + toothbrush (or a fork),
- brown soft pastel,
- sandpaper and/or sanding tool,
- matte water-based varnish,
- paintbrush,
- felt,
- pencil,
- scissor,
- strong craft glue,
- a hanger (optional),
- hot glue gun (optional).
Step 1: Prepare the Template
First, print and cut out the frame. I used my Epson Inkjet printer; it works nicely for transferring images to air-dry clay. Some of my readers said that it didn’t work for them for some reason. If you can’t transfer the pattern to the clay, you can trace it.

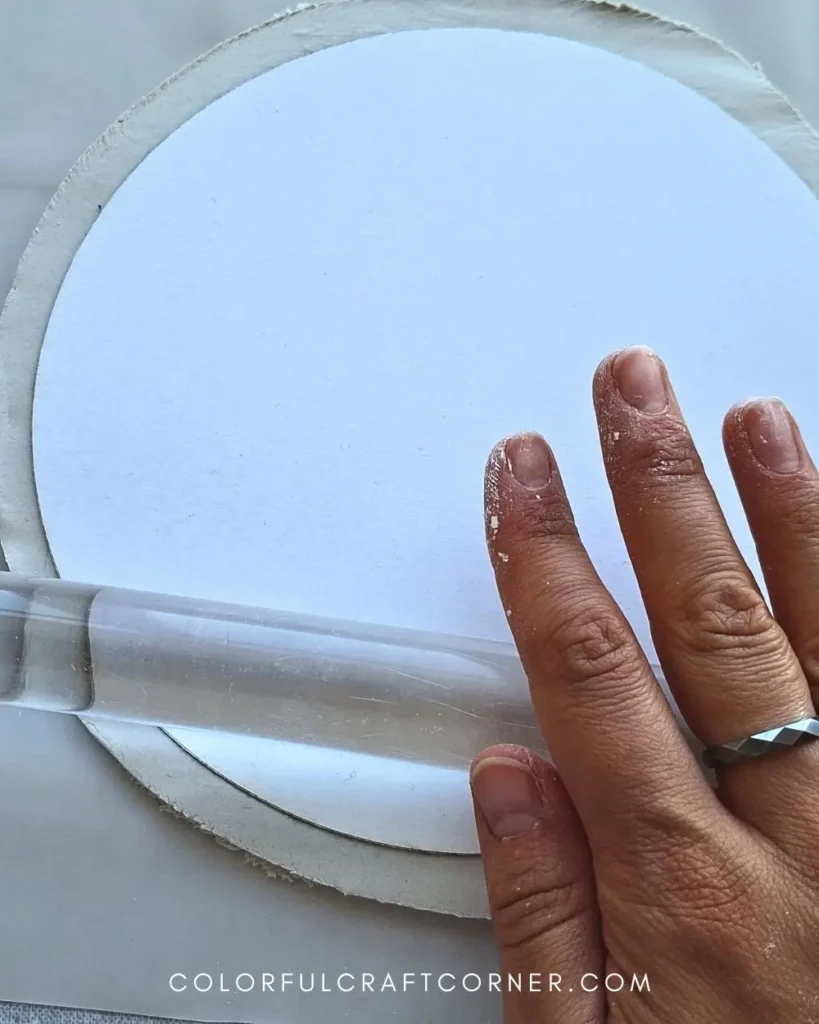
Step 2: Prep the Clay
Take a large chunk of air-dry clay and knead it until soft. Roll it into an even thickness using guide rings or two wooden dowels.
I used my template to measure and cut off the excess clay. Pressed the acrylic mirror into the clay, facing down. Trimmed the clay again and smoothed out the edges with wet fingers.
Note: I haven’t removed the protective film, so I don’t accidentally scratch the surface when cutting the pattern.
Step 3: Shape the Clay Frame
Flip the clay with the mirror in it. Apply a few drops of water to the clay. Smooth it out with your fingers. Don’t add too much water because the template will stick to it.
Put the template on the clay, facing down. Run your fingers in a circular motion all around the back of the paper. Peel the paper carefully, and check whether the pattern transferred properly. If it didn’t, put the paper back and run your fingers over the parts where you couldn’t see the lines.
If you don’t have an inkjet printer, skip wetting the clay, apply the paper, and trace the pattern. You can use a pencil, a toothpick, or a clay tool.
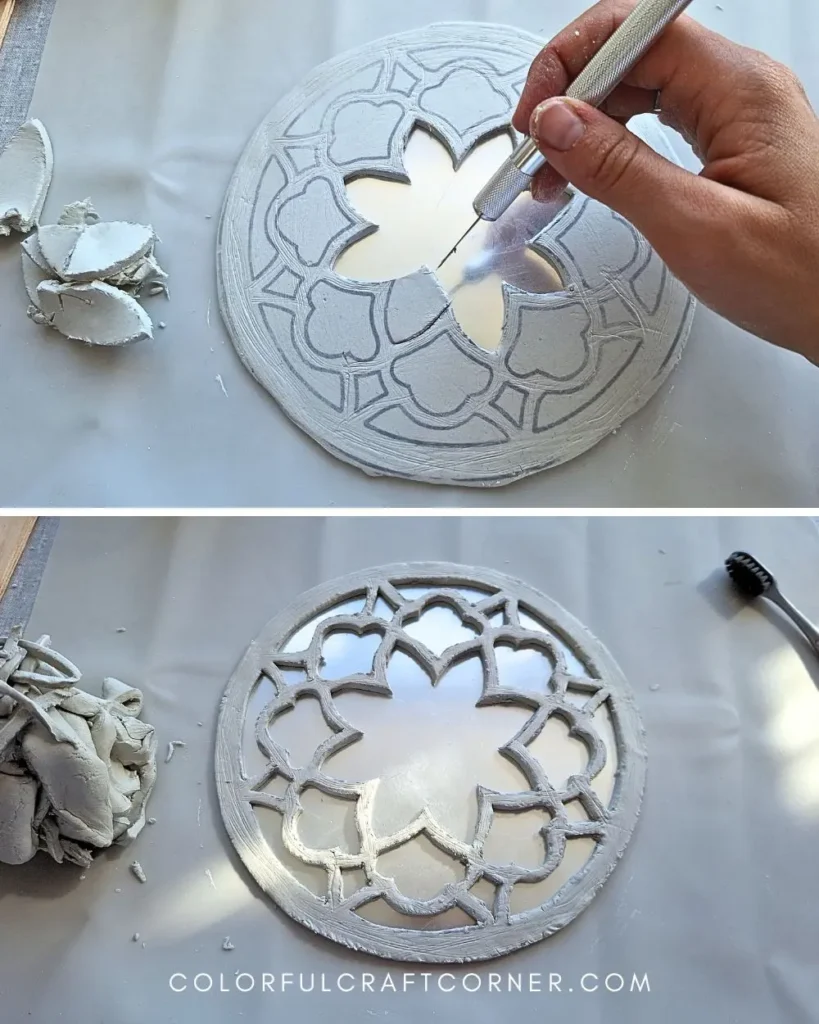
To create a rustic look, add scratches with a scraping tool (or a fork) and a toothbrush.
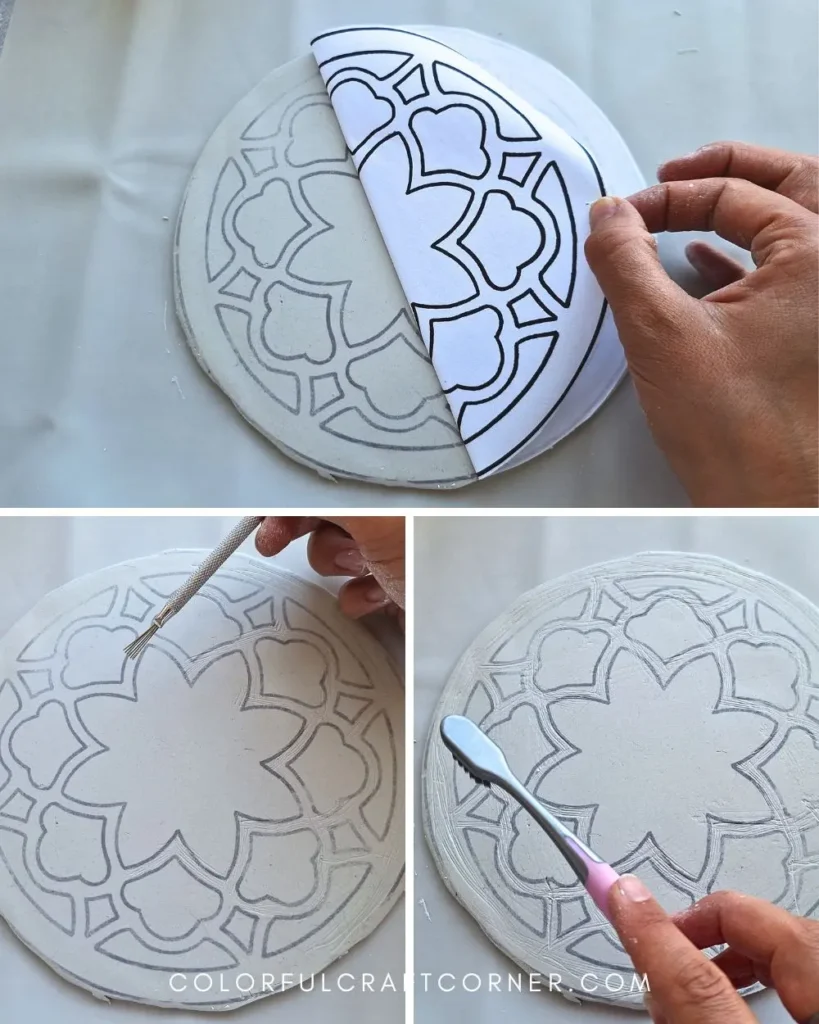
Grab a precision knife or kitchen knife and start cutting away the pieces. A sharp, pointed tool works best, especially in small corners. I worked from the inside out.
Wet your finger to smooth out rough edges. I used a wet paintbrush inside the shapes. I didn’t want to make it perfect because I was aiming for a rough, worn-out wood look.
Step 4: Refine the Details
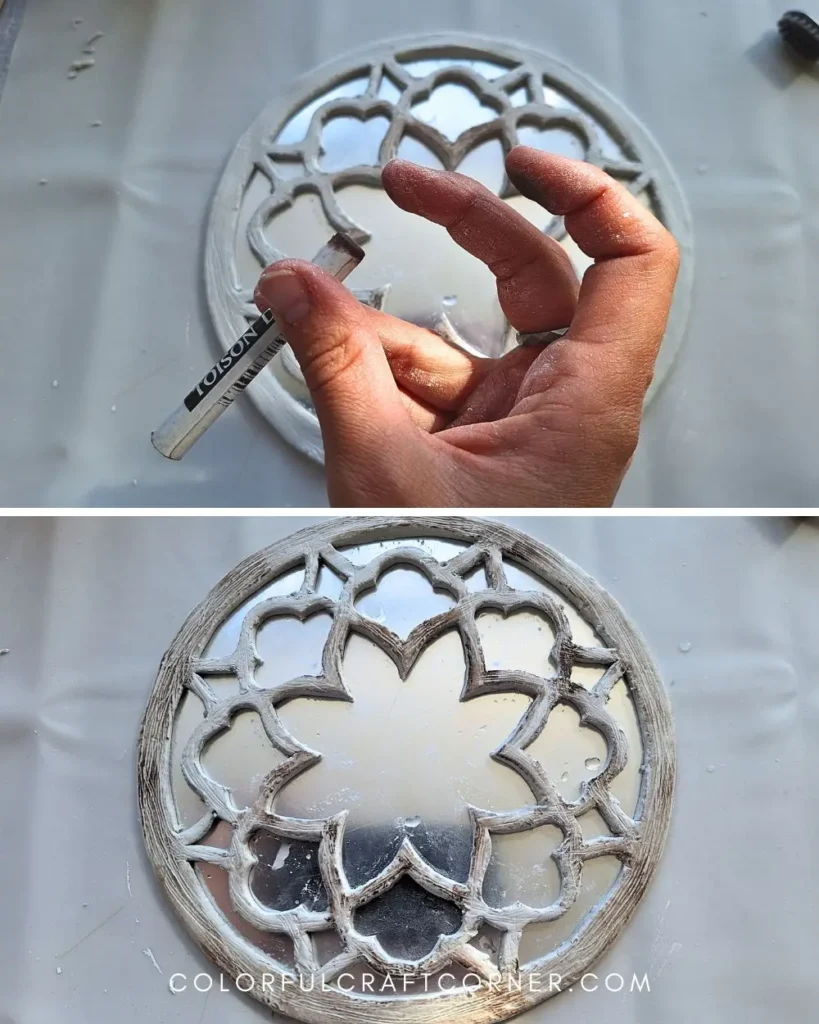
DAS air-dry clay has an off-white, greyish color when dry. I usually paint it white when I want a white project, but this color now suits the rustic look. So, I added the details and color using a dark brown soft pastel. Rub your finger and apply it here and there. It will accentuate the scratches, creating a rustic, farmhouse look.
Step 5: Let it Dry
Leave the mirror in the frame when you finish the project. Let it dry for a couple of hours. When the clay starts to set and harden, remove the mirror to allow it to dry thoroughly.
Don’t forget to flip it occasionally to dry evenly and to avoid warping.
I usually let my clay projects dry for 24-48 hours, but it also depends on the thickness. When the clay has an even off-white color, I do a nail test to see if it has dried completely (I push my nail into the clay; if it still feels soft and leaves a strong mark, the inside has not dried yet).
Step 6: Touch-ups and Sealing
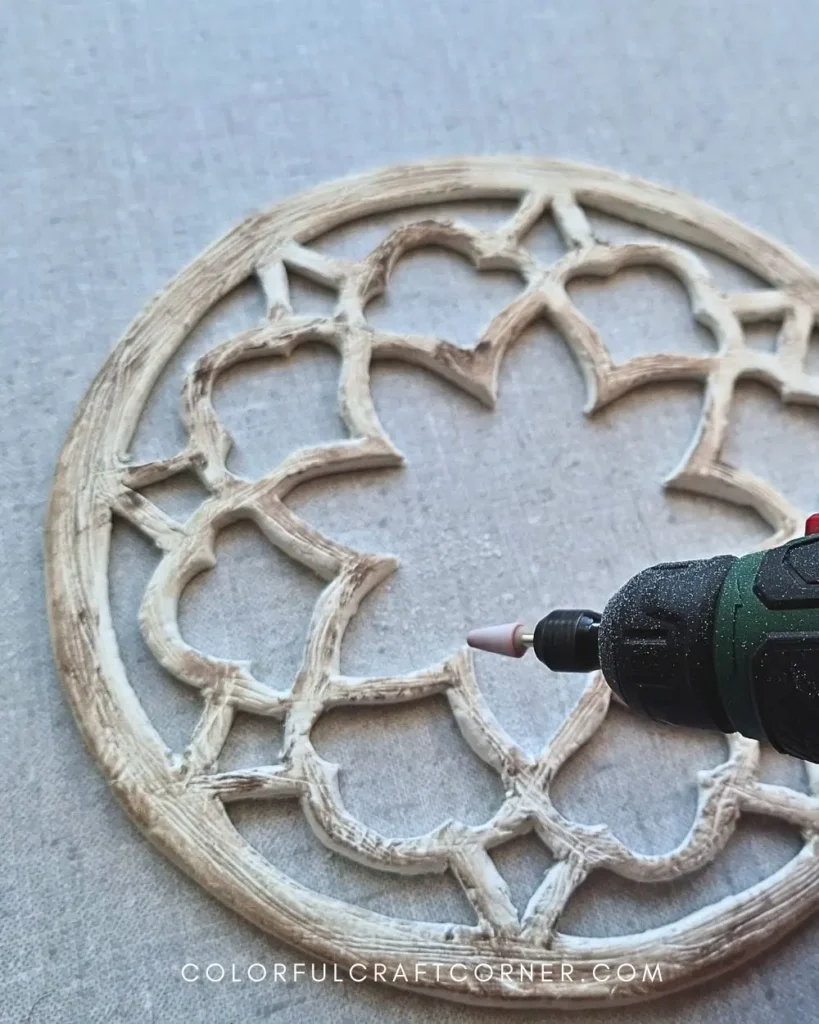
I smooth out any rough edges with sandpaper and a sanding tool. I didn’t want it to be perfect, since I was aiming for a rustic look, but to achieve a more professional look, I refined the cut-out shapes.
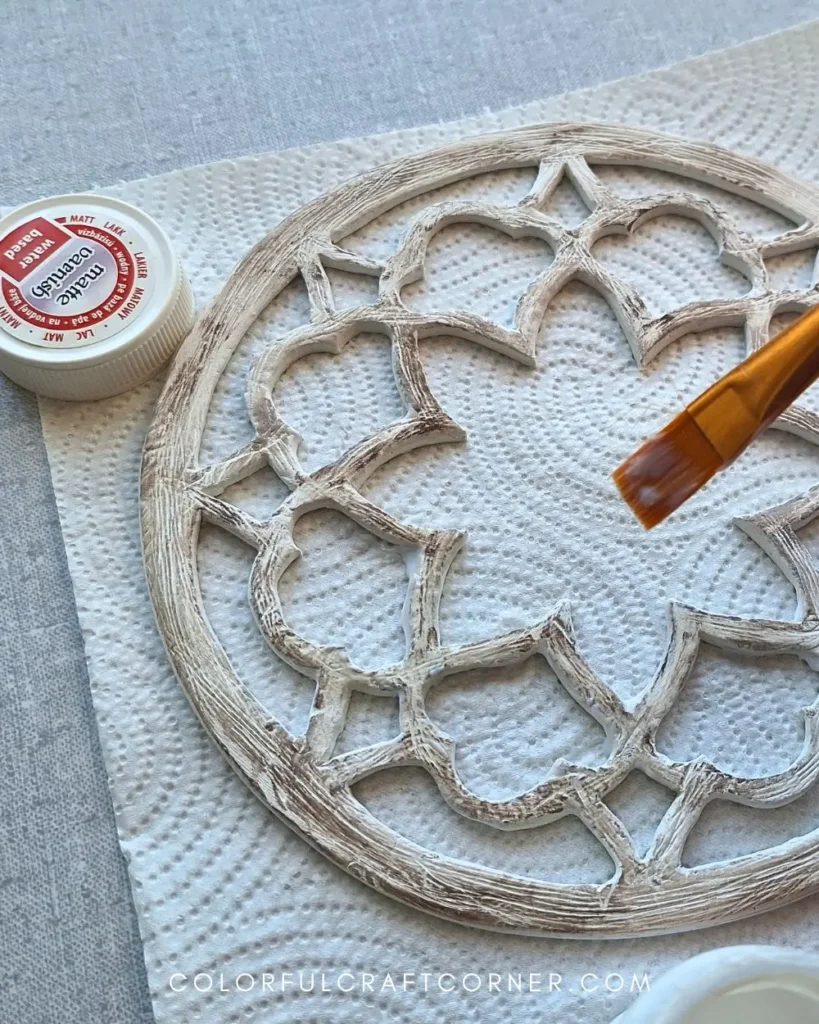
To protect the air-dry clay mirror, I applied two coats of water-based matte varnish. I left an hour or so between the two layers.
Step 7: Assembling the Air-dry Clay Mirror
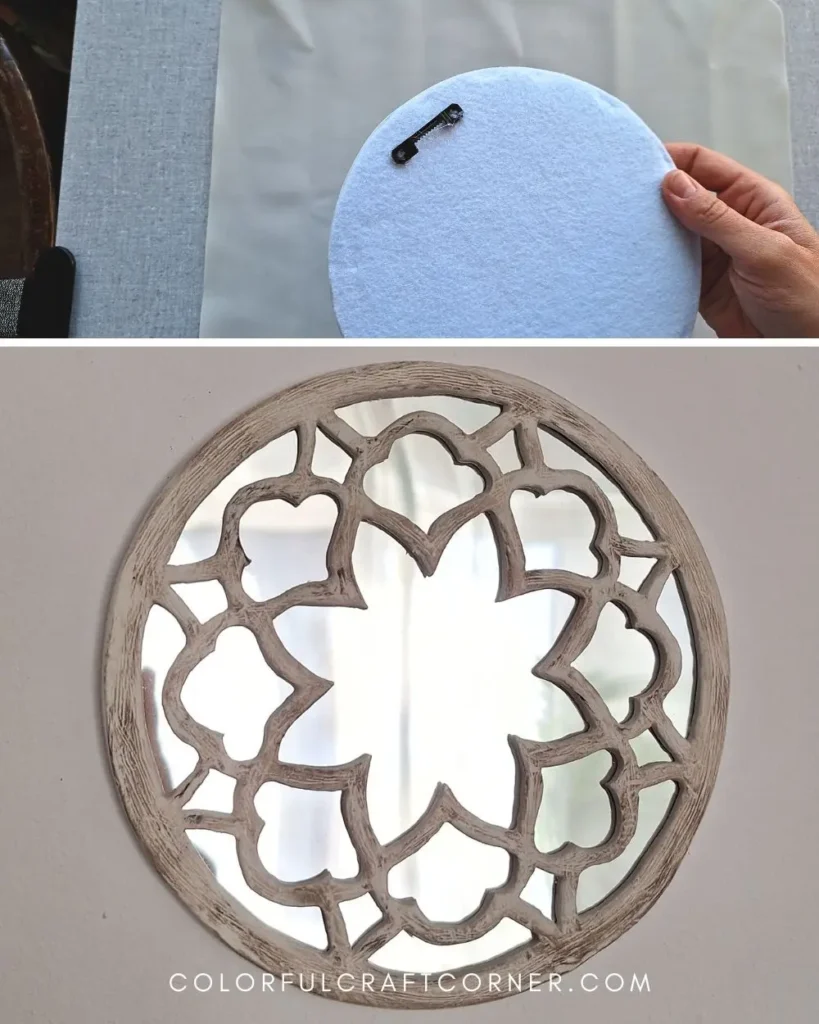
For the back, I used a thicker, stiffer, white felt, but you can also use cardboard, cork, etc. I traced the frame with a pencil and cut it out.
I removed the protective film from the mirror and placed it into the clay frame. To secure the backing, I applied a strong white craft glue around the edges and also the back of the mirror. With a couple of clothespins, I secured the backing so it won’t move while drying. You can also use something heavy, like a book, to press the layers together.

It is optional, but you can also add a hanger. I had this metal hanger that I hot-glued on the back. Eventually, I just put it on a shelf because we have white walls, and since the mirror isn’t that big, it didn’t look good.
Helpful tips:
- Don’t make the frame too thin. Thin clay warps and cracks more easily. It is also more fragile. It would be a shame if it broke at the final steps of assembly.
- However, if it breaks or cracks, you can still try to fix it. I managed to glue broken pieces. So, don’t get discouraged, try wood glue or a strong craft glue. Push wet clay into the cracks, let it dry, and smooth out with sandpaper.
- I highly recommend using DAS air-dry clay because I have never had a cracked piece with this brand. Jovi is also a good one.
- Don’t rush the drying time. It also causes cracks and warping.

Other easy DIY air-dry clay home decor tutorials:
- DIY Air-dry Clay Mandala Trinket Dish
- Air-dry Clay House Candle Holder Tutorial
- Easy Mandala Dreamcatcher Wall-Hanging
Final Thoughts about the Clay Frame
I hope you liked this DIY air-dry clay mirror frame tutorial. I am very pleased with how it has turned out. Hopefully, I can make a bigger one in the future to use as an accent mirror, since this one is a bit small for that purpose. However, it looks super nice on my shelf.