
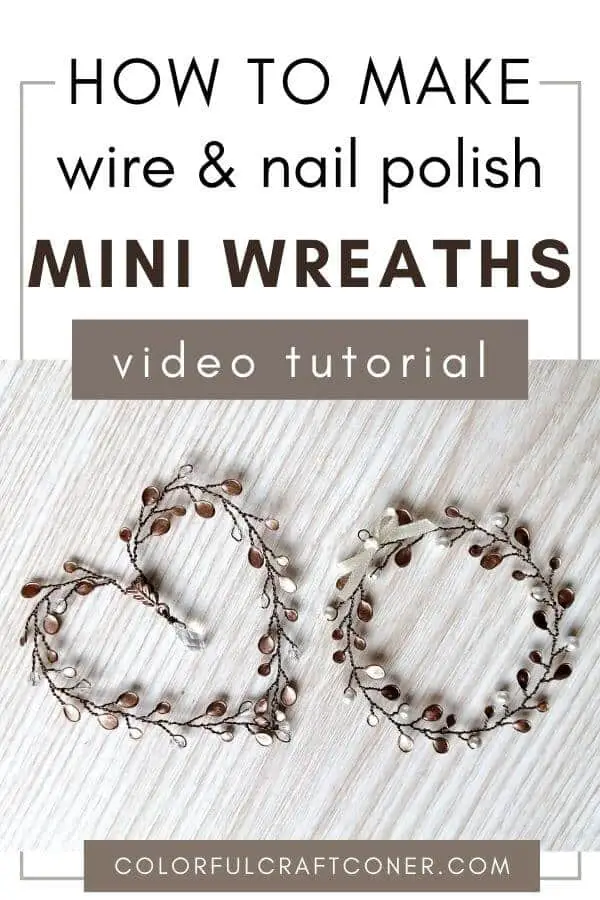
DIY Mini Wire Wreath Ornaments (Round and Heart-Shaped)
Learn how to make stunning, chic DIY miniature wreath ornaments with these simple step-by-step instructions, tips, and hacks. The video tutorial will guide you through the creation process. These DIY mini wreaths are perfect for crafts, to create mini Holiday wreaths, wreath ornaments for the Christmas tree, gift ornaments, etc.
The other day, while browsing for DIY Christmas tree ornaments, I came across some cute mini wreaths. Most of them were made either from greenery or yarn.
They were so cute and beautiful, so I’ve decided to make my own DIY mini wreaths.
I wanted a more elegant and feminine approach. That’s when the idea of the wire and nail polish wreath was born.
As a child, we made wire and nail polish trees in a craft camp I attended. I really liked this combination. I had this AHA moment: they would make stunning mini wreaths too.
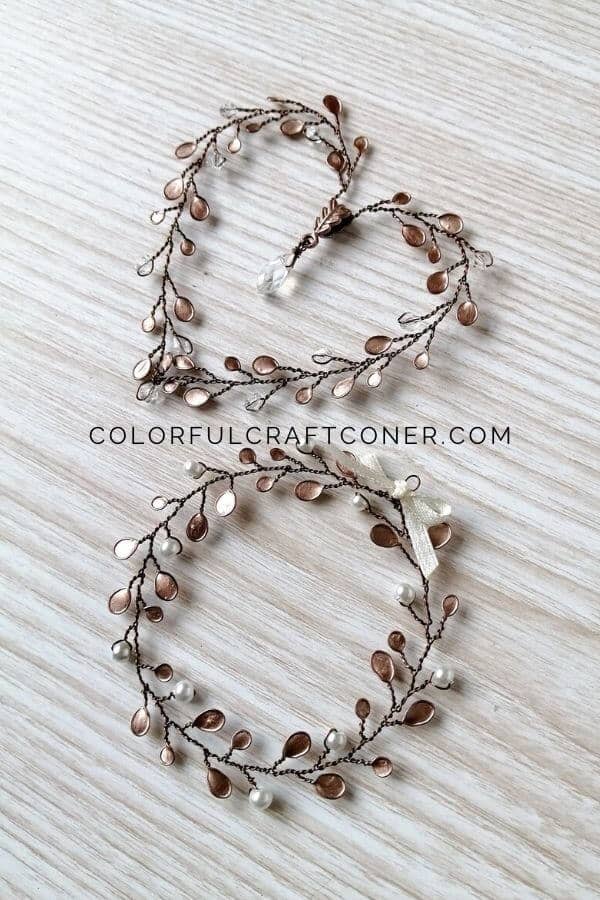
I’ve experimented with two wreath types: a full round and an opened, heart-shaped wreath with other embellishments. I encourage you to experiment with shapes, colors, and adornments.
I love these miniature grapevine wreath ornaments because not only are they beautiful and chic, but also very versatile. You can use them for various crafts too.
A few ideas on how to use DIY mini wreath ornaments:
- the perfect Christmas tree ornaments,
- gift decorations to spice up boring wrapping papers,
- make them even smaller to create pendants or earrings,
- hanging decoration for a bunting, kitchen cabinets or clothes pegs for Valentine’s Day or Christmas,
- napkin rings for the Christmas dinner table,
- a wine bottle or glass decoration,
- put them on a stick for a cupcake topper,
- you can also glue them on paper to create unique cards.
And the best part? They are easy to make, cheap, and only require a few tools and supplies.
They are perfect ornaments for Christmas and Valentine’s day.
You can also customize them as you like, according to your existing Holiday decorations, to match your style or the purpose of the craft project you want to include it in.
Let’s get started!
DISCLOSURE: THIS POST MAY CONTAIN AFFILIATE LINKS, MEANING I GET A COMMISSION IF YOU DECIDE TO MAKE A PURCHASE THROUGH MY LINKS, AT NO COST TO YOU. PLEASE READ MY DISCLOSURE FOR MORE INFO.
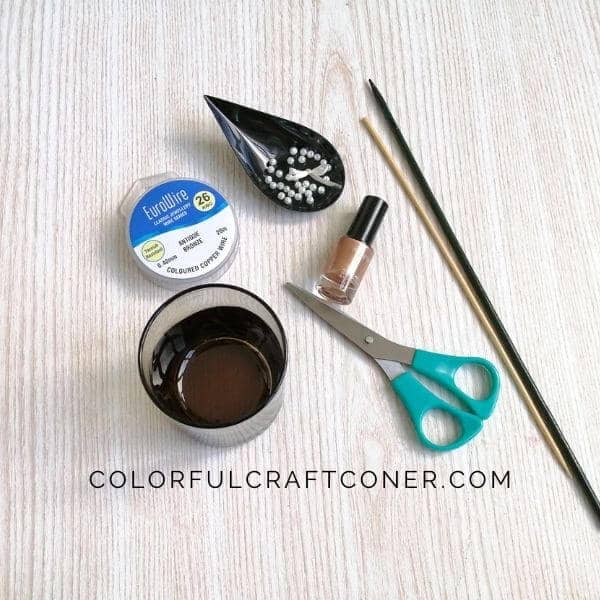
Tools and supplies for the DIY mini wreaths:
- wire (I used a 0.40 mm diameter in bronze),
- nail polish (like this Essie copper polish to match the wire),
- small beads, pearls, or crystals (I used 4 mm plastic pearls and transparent bicone crystals),
- pencils or wands with different thickness (I used 2 sizes (3 mm and 5mm),
- a glass or cylinder for measurement (optional),
- pendant bail (optional for the heart-shaped mini wreath)
- other adornments (optional): ribbon, charms, crystals, bells, etc. (I used 4 mm ivory ribbon for the bow and transparent 6 x 12 mm teardrop crystal for the heart-shaped mini wreath)
Small wire wreath instructions:
I’ll show you two different variations for this wire wreath: one round and one heart-shaped. The creation process is the same so that I won’t write two instructions.
I’ve made a video tutorial for the full wreath, and I’ll add a few bonus steps + images for the heart-shaped mini wreath at the end.
STEP #1 – Plan the wreath
Draw the wreath to help you visualize the craft. It’ll also guide you while making the mini wreath.
If you like more spontaneity and freedom, skip planning, and let your creativity flow. Sometimes my crafts turn out better this way.
STEP #2 – Measure the wire
I used a glass to measure the wire. It was the size reference for my wreaths.
You’ll need at least 7x the amount of wire than the size of your desired ornament. If you’d like to make it richer (more leaves and beads) or longer stems, measure more wire.
I used approx—60 inch or 152 cm long wire.
STEP #3 – Start twisting
Fold the cut wire in half. You can either start with a bead, leaf, or a small hole (where you can attach ribbon or a hook to hang your wreath ornament).
In this step, you can follow your wreath template or just create leaves as you like. On both sides, I’ve made three leaves; then, I added a bead.
For a more natural or organic look, don’t make the sides identical and symmetrical. Shift the leaf sizes: small-small-big, on the other side big-small-small, or small-big-small, etc.
I used bamboos skewers (3 mm) for the smaller leaves and another, thicker wooden stick (5 mm) for the larger leaves.
Slightly press the circles to make more oval and leaf-shaped elements.
I’ve added a total of 10 plastic pearls; you can add more, less, or skip beads entirely and make only a small leaf wreath.
STEP #4 – Paint the leaves
While painting, spread the nail polish brush to cover the leaf’s width.
Make sure you have enough nail polish on the brush, but not too much. Too much paint will drip, and too little polish won’t create the layer.
You’ll have to experiment a little to get the hang of it.
Leave it to dry completely. I like to let them dry for at least an hour, just in case.
STEP #5 – Finish the wreath
Join the endings by wrapping the wire together or around each other. In the video tutorial, I used the first small leaf (I forgot to start with a hole for the hook).
Further embellish your wire and nail polish mini wreath with small bows, crystals, small charms, or bells.
Heart-shaped mini wreath instructions:
STEP #1 – 4
They are the same for the heart ornament. The only difference is that instead of making one long wire vine, I’ve made two shorter ones with 5-5 beads.
I’ve made each side using an approx. 85 cm = 34-inch long wire and 5-5 plastic, transparent bicone crystals.

STEP #5 – Finish the mini wreath
Add the bail (I had a nice antique brass bail with a leaf pattern to match the project) to one of the wire veins, then join the two parts. Adjust the bail to cover the join; you can also use super glue to secure it.
Attach a teardrop crystal, charm, pearl, or whatever you like to the bail.
Draw a heart or print one and adjust the vein to the heart shape.
It’s best to connect the ending, so the wreath keeps its heart shape. I used a piece of leftover wire I cut off previously.
If you want to make it a Christmas tree ornament, create a small hanger, a hole with wire, on top of the bail, before adding it to your wreath


Tips and Hacks:
- The longer the wire, the harder to work with. While you twist the stems, the lower part may also twist. Be careful to separate the two strands before moving on to the next leaf.
- You can adjust the leaves and ‘berries,’ but don’t touch, twist, move, or bend them a lot. Thin wire, especially twisted, breaks easily and will ruin your stunning craft.
- In the video tutorial, I added the small bow before painting the leaves with nail polish. However, it’s best to add it after the leaves have dried. (My son just waked up after his nap, so I had to transform a bit the creation process and the video recording).
Final thoughts about the DIY mini wreath ornaments
As you can see, it’s pretty easy to make beautiful, chic, and also cheap DIY decorations. You’ll only need wire, nail polish, and a couple of beads. You can even skip the beads if you like.
So, technically you can make beautiful miniature wreaths using two supplies.
This ornament craft project is perfect for beginners; it’s simple, you can make it pretty fast, and the results are amazing!
I hope you liked them as much as I do. Have you ever tried making wire and nail polish decorations?
Leave a comment!
You are amazing, with your creations, and low cost items used.
Happy Thanksgiving! Hugs..
Thank you! You made my day! 🙂 I’m so happy you like my crafts! Happy Thanksgiving!
I was inspired to make these decorations and added a small wreath to the Christmas present that I gave to my friends. I’m going to teach them how to do it when I have a craft afternoon at my house. I also made a long spiral to decorate an artificial candle that my daughter has. Made the “leaves” purple to go with the decor in her living room. Thanks.
Nice! I’m so happy you liked it and tried it.
I think this is a BEAUTIFUL Valentines craft to make! It looks like lace. Many MANY years ago we used nail polish and wire to make flower petals and I haven’t thought about that for almost fifty years. Thank you for sharing your talent.
Cindy