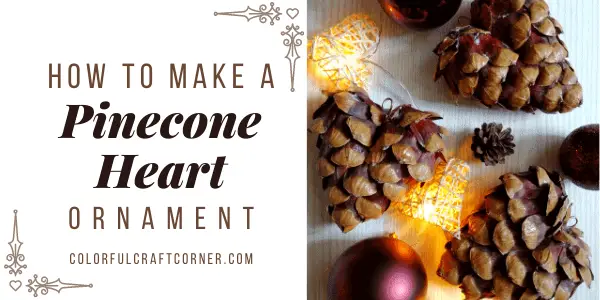
DIY Pinecone Heart – Christmas Decoration
In this post, you can learn how to make a natural, heart-shaped pinecone ornament. They look stunning hanging on a Christmas tree, as mantel decoration, or as an all-year rustic decoration on your shelves. Easy, cheap, and fun pinecone craft!
DISCLOSURE: THIS POST MAY CONTAIN AFFILIATE LINKS, MEANING I GET A COMMISSION IF YOU DECIDE TO MAKE A PURCHASE THROUGH MY LINKS, AT NO COST TO YOU. PLEASE READ MY DISCLOSURE FOR MORE INFO.
I have to admit, a couple of years ago, I was a Pinterest addict (spent hours browsing craft ideas, cleaning hacks, home decor, etc.) When I started to work, and after having a baby, I didn’t have the time.
When I was searching Christmas decorations, I’ve found a picture of a pinecone heart ornament. It didn’t lead to a tutorial or content; it only said you have to glue together to pinecones, and it’s done (similar item). But I couldn’t knock it off that way so, I’ve followed a different approach.
That has lead to this pinecone craft tutorial and video.
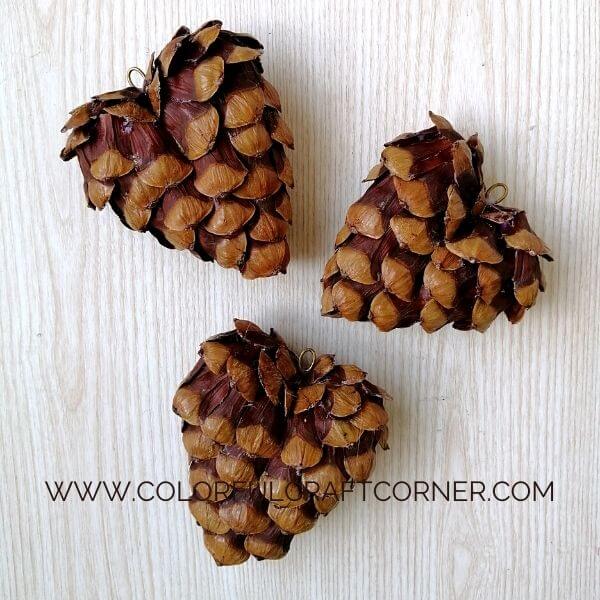
The heart ornaments turned out so gorgeous. I have to make more crafts with pinecones in the future!
I hope you guys also like it and try it.
Let’s jump in!

Supplies and tools for the DIY pinecone ornaments:
Lucky me, I didn’t have to spend money only on hot glue. I had every craft tool and supply at home. My mother-in-law has a Pinus Wallichiana tree (known as Bhutan pine, Himalayan white pine, or blue pine). She gave me lots of stunning, large pinecones she just wants to throw out.
- pinecones (they are not the same I used, but the cone scales are very similar),
- old magazine or newspaper,
- hot glue gun + glue sticks,
- burlap by the yard,
- sharpie,
- scissor,
- big jump rings.

How do you make a heart-shaped pinecone ornament?
This DIY pinecone heart is easy to make, cheap, and suits lots of home decor styles including rustic and farmhouse home decor. You can make them smaller and bigger. I wanted larger heart ornaments for our Christmas tree.
Before starting crafting, I always recommend preparing pine cones collected from nature.
Let’s see what you should do!
How to treat pinecones for decoration and crafts?
It’s important to clean and treat pinecones dirt, debris, or other clippings; also, insects may hide in it.
I brushed off the dirt, soaked them in a warm water and vinegar mixture, then baked them at 200 degrees. For a more thorough method, check out this article on how to clean pinecones by Make and Do Crew.
Let’s get to crafting! Watch the video tutorial for the pinecone Christmas ornament and read the instructions for more tips and guidance.
Step-by-step instructions:
STEP #1 – Create the heart-shaped base
For one heart ornament, you will need 6 sheets of magazines or newspapers (A4 or letter-sized). If you want to make them bigger, use more paper or larger sheets; use the opposite for smaller ones. These measurements result in 4.5-5.5″ tall heart ornaments.
Roll a ball using one sheet of paper. Crumple the second one and form a cone, pop the ball at the opening. Wrap the third paper around it tightly, so it holds them together. It should have a teardrop shape.
Make another piece and glue them from the middle down.
TIP! Leave the upper part loose; it’ll be easier to shape the heart when gluing on the pinecone scales.
Use the heart as a template and trace it on the burlap twice. Cut one of the hearts 2″ larger.
Clip-in, so you can wrap them on the heart. Glue them down piece by piece.
It’s not a must to wrap them in burlap; I’ve done so it would cover the colorful magazine paper. It also adds an extra layer of strength and holds them together better. You can also use other types of fabrics.
NOTE! Be careful not to burn yourself; hot glue may seep through the burlap fabric.
STEP #2 – Prep the pinecones
I like to prep multiple pinecones before gluing the whole thing. I like the freedom to choose the most fitting pieces.
Start ripping off the pinecone scales (carefully; they may break) from the cleaned and treated pinecones.
Trim them. I cut off the spikey part at the bottom and further trim it if needed while gluing.
STEP #3 – Glue on the pinecone scales
I always start at the bottom and on the sides. Glue the scales up until the curves start.
Fill it up (like fish or mermaid scales) until the heart shapes split in the middle.
You must tilt the scales a little when you fill in the upper put to achieve the nice curvy heart shape.
Cut, shorten, remove, replace, or shape pinecone scales where needed.
TIP! They look best if you can’t see the heart ornaments base (the newspaper or burlap) and hide the pinecone scales well under each other.
STEP #4 – Finish the DIY pinecone heart ornament
To create a hanging pine cone heart ornament, glue on a larger jump ring. Also, you can use them as a mantel or shelf decoration.
I like to hang my ornaments with wire hooks, but you can add a nice ribbon or jute twine.
Tips and Hacks for the Pinecone Heart-shaped Ornament:
- You can further decorate your heart ornaments with bows, glitter, fake snow, pearls, or rhinestones.
- Bleach the pinecones and make white ornaments. (Here is a tutorial on how to bleach pinecones by Garden Therapy)
- You can also use styrofoam hearts as a base (I aimed for a longer heart shape), but glue them carefully, hot glue may melt the shape too, and scales can stick poorly. I think it’s also best to wrap them in fabric.
- Replace pinecones with felt. Cut out felt ovals, circles, or triangles and use them as scales. The results are cozy heart-shaped ornaments that you can make in any color you like.
Final thoughts about the heart-shaped pine cone decoration
These rustic heart Christmas tree ornaments are easy and cheap to make especially if you can collect pine cones, and you don’t have to buy it.
They look stunning hanging on a tree or as a stand-alone decoration for farmhouse or rustic style homes.
Have you tried making pinecone crafts? Do you like these DIY pine cone hearts?
Leave a comment!
Related Winter and Christmas Decoration:
- How to Make Mini Wreath Ornaments
- DIY Egg Carton Gnomes,
- Toilet Paper Snowflakes,
- Free Christmas Printable Art,
- Free Printable Winter Wall Art.