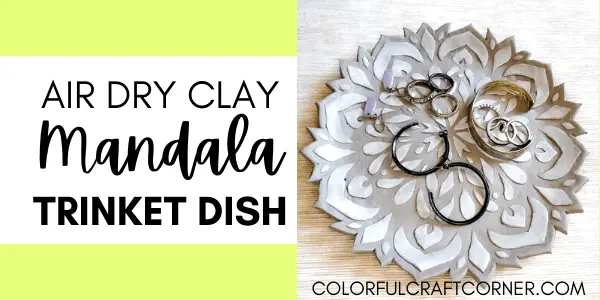
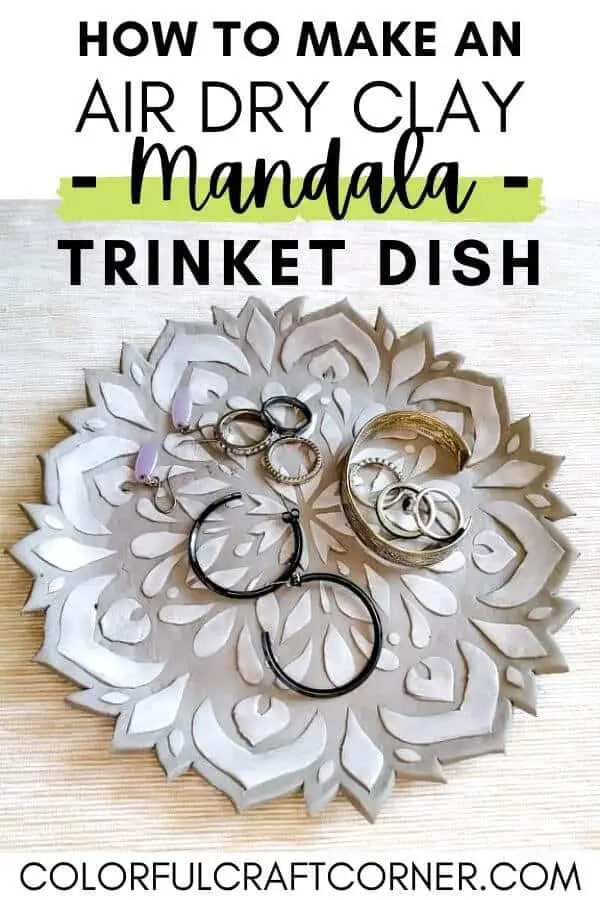
Simple DIY Mandala Jewelry Dish
Do you like beautiful jewelry dishes? In this post, I will show you a super simple mandala air dry clay trinket. This clay craft is perfect for beginners. You can use it as a jewelry dish, ring holder, key holder, or candle holder (only battery-operated!)
One day, browsing on Pinterest, I came across a beautiful ceramic mandala dish. I loved it, so I saved it! Then it popped to my mind that I have a mandala stencil that I recently made. What If I would use that with some air modeling clay? I had to try it!
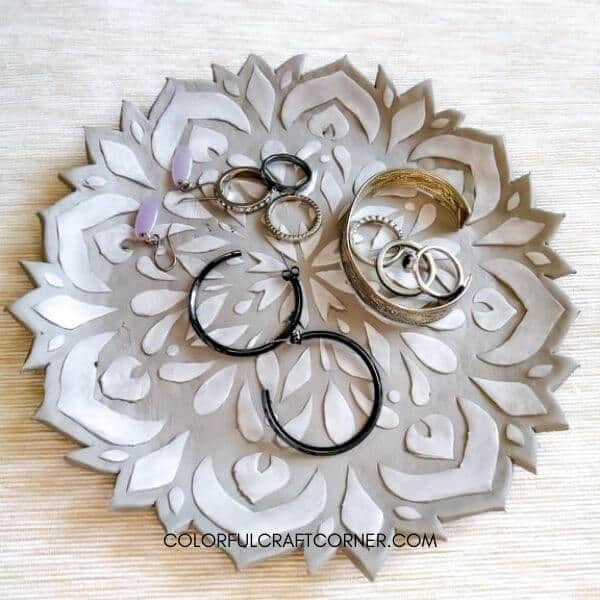
So, here is the result! I like how it turned out. If you’re not into mandalas you can also use any other reusable (plastic) stencil you have. It would also look gorgeous with a floral pattern.
But now, let’s get to work and make this clay trinket tray, dish, bowl, whatever you want to call it.
DISCLOSURE: THIS POST MAY CONTAIN AFFILIATE LINKS, MEANING I GET A COMMISSION IF YOU DECIDE TO MAKE A PURCHASE THROUGH MY LINKS, AT NO COST TO YOU. PLEASE READ MY DISCLOSURE FOR MORE INFO.
Tools and supplies for the clay mandala dish:
- air drying clay (I used DAS Stone clay),
- mandala stencil,
- white soft pastel,
- craft knife,
- rolling pin,
- plastic wrap,
- a plate.
I made my own mandala stencil. Here is the article on how to make your own stencil without any fancy tool or machine. You can also grab the pattern for free.
If you don’t want to bother with creating stencils choose any reusable stencil. I like these mandala stencils from Amazon. All of them would look gorgeous as a tray.
HOW TO CRAFT WITH AIR DRYING CLAY:
- How to color air dry clay?
- How to make air hardening clay stronger?
- Can you use air dry clay for mugs and plates?
Step-by-step instructions:
1. Get a good chunk of air dry clay and mold it between your hands for a couple of seconds.
2. Cut two pieces of plastic wrap (slightly larger than your stencil).
3. Roll out the clay between the sheets to a 1/8 – 1/6 inch thickness.
4. Remove the upper sheet and smooth out any wrinkles. Slightly wet your hand if they are stubborn and don’t want to disappear.
5. Lay the stencil on the air dry clay and press it with your hands.
6. Grab a tool with a blunt tip, for example, a pencil, modeling tool, or a blunt scissor, like I did, and start pressing each section until the clay pops out a bit. Don’t overdo it! And be careful so your tool won’t slide into the cut out parts and make a hole in it.
NOTE! Work gradually in sections so you won’t miss any part.
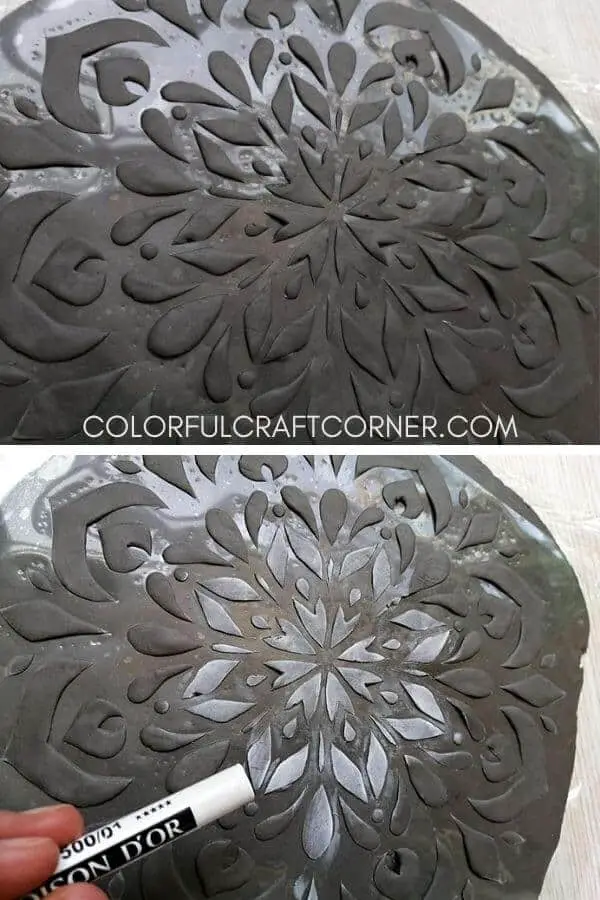
7. Pick a soft pastel and rub it on one of your fingers. Color each cutout. you may need to go over it again if the clay absorbs a part of it.
TIP! If you are using white air hardening clay, experiment with more colors. For example, you can create an ombre or watercolor-like effect.
8. Carefully and slowly remove the stencil. Be aware that small, protruding parts may stick into the air dry clay.
9. Cut the outline with a sharp craft knife and smooth the edges.
10. Lift the clay with the plastic wrap and put it on the plate. The plate should be approximately the same size as your mandala, so only the edges curve. You can also experiment with large bowls, so the whole trinket has a curve, a flat bowl-like look.
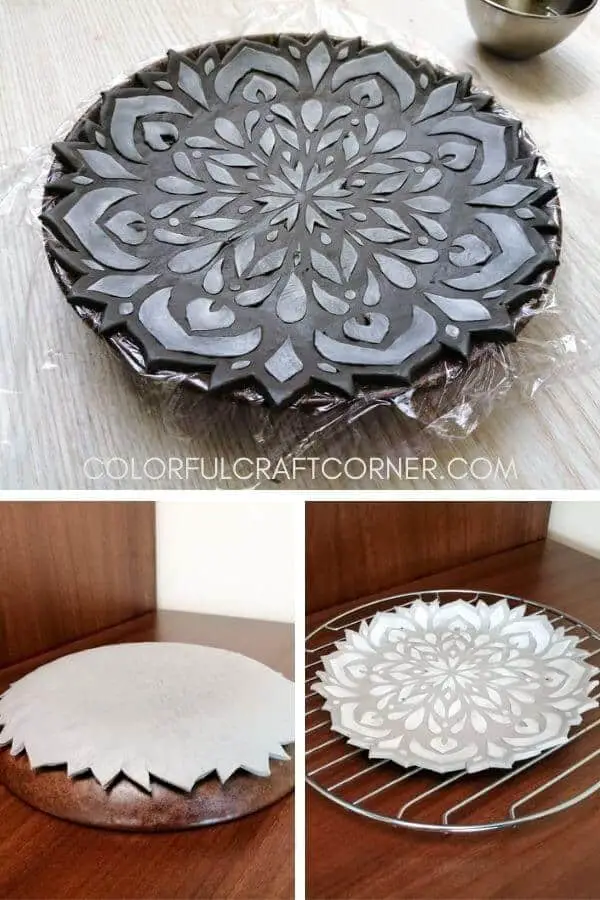
11. Wait for it to dry. You need to be patient. For me, it took about 72 hours to dry. It could take less for you. After two days, or when you feel that the top became solid, carefully lift the trinket and remove the plastic wrap. Turn it upside down on the plate or bowl so the bottom can dry too. Leave it for a day, then transfer it to a rack (cooling rack for baking) and leave it to dry thoroughly.
12. If you need, smooth it with sandpaper. Seal it with a water-based varnish. Enjoy!
Clay trinket tray video tutorial
Watch the video to see how I made the clay mandala trinket.
Stenciled air drying clay craft ideas
Apply this simple technique, to any other air-hardening clay projects to create unique and stunning crafts easily.
Here are a few examples:
- Create beautiful Christmas ornaments with these snowflake stencils.
- Make lovely Valentine’s day ornaments with these heart stencils.
- Use these geometric animal stencils to create amazing clay wall hanging or decor.
- Add a cool pattern to a clay pot with these geometric reusable stencils.
- Make some Halloween decorations (ornaments, tray, coasters, signs) with this cool stencil set.
- Create a clay sign using this Farmhouse stencil set.
Final thoughts about the mandala air dry clay trinket
This clay craft is super simple. Kids could also do it with their favorite animal stencil. You can finish it in half an hour and just wait for it to dry.
I hope you liked this air drying clay craft. I enjoyed it a lot!
Do you like to craft with air dry clay? Leave a comment!
Related air dry clay craft ideas and tutorials:
- How To Make Simple Clay Birds
- DIY Air Dry Clay Rabbit
- 27 Amazing Things to Make out of Clay
- Cute Air Drying Clay Craft Ideas
- Cool Air Dry Clay Craft Kits for Adults
Hi Paula
I love your trinket dish and the stencil is striking for this project.
I know you provided the link to Amazon for the stencil, but there are literally hundreds of them. Can you please provide the link for the stencil you used in this project.
Very much appreciated.
Thankyou
Hi Lynda
Sorry for my late response, I’ve been super busy lately at work. The stencil I used for this trinket dish is handmade. I designed the pattern and used a craft knife to cut it out. You can download the mandala and create your own on a flexible plastic sheet (there’s a download button under the tools and supplies section).