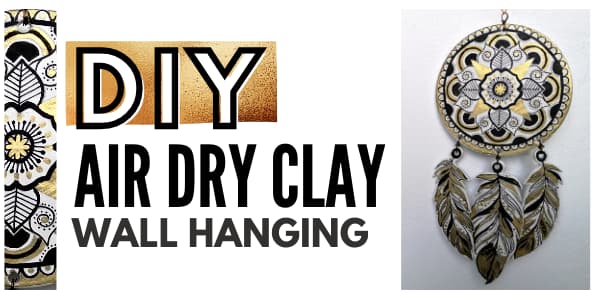
DIY CLAY DREAMCATCHER WALL HANGING
In this post, I’ll show you how to make an easy and beautiful dreamcatcher wall hanging out of air dry clay. With this simple hack, you can make gorgeous clay projects such as wall art, earrings, plates, and so much more. You can apply this method to almost any air hardening clay craft.
I can’t recall how I stumbled upon Red Rocking Bird‘s youtube channel. She has numerous fantastic air drying clay tutorials and also a lot of informational videos with practical tips and hacks.
In one of her videos, she showed how to transfer images, designs onto air dry clay. I was thrilled! I haven’t even watched the video until the end and a new clay craft popped into my mind. A MANDALA DREAMCATCHER!
DISCLOSURE: THIS POST MAY CONTAIN AFFILIATE LINKS, MEANING I GET A COMMISSION IF YOU DECIDE TO MAKE A PURCHASE THROUGH MY LINKS, AT NO COST TO YOU. PLEASE READ MY DISCLOSURE FOR MORE INFO.
You may have noticed that I like mandalas, dreamcatchers, and boho decor. If you are interested you can check out my popular toilet paper roll mandala wall art, or if you are looking for new ideas, take a look at these fantastic DIY boho home decor projects.
I’ve tried several printers, with different inks. I was so disappointed because I couldn’t find one that worked for me. When I got my new Epson EcoTank printer the second sheet I’ve printed was this mandala dreamcatcher and tested it. It worked!
The patterns or designs transferred to the clay dry light grey. You can reinforce them with markers or acrylic paint. This technique is perfect to transfer templates or outlines for intricate designs and illustrations that would be hard to draw with a free hand on the clay.
Even though this is an air dry clay idea for adults, the project is so simple, that kids and teens can make it. They can transfer their favorite cartoon characters or even their own designs onto clay and create cool keychains, jewelry, trays, bowls, or other fun objects.
Now, let’s make this easy and gorgeous clay wall hanging!

Tools and Supplies
- white DAS air modeling clay,
- rolling pin,
- wax paper or plastic wrap,
- a big round cookie cutter or bowl,
- craft knife,
- sandpaper,
- plastic straw,
- colored markers (optional),
- large jump rings or wire,
- mandala dreamcatcher template (you can download my design down below),
- scissor,
- varnish.
Clay Wall Hanging Instructions
Step 1 – Print out the template or your design. Cut around the outline leaving a 1-2 mm space (let’s just call it ‘seam allowance’).
Step 2 – Get a good chunk of clay, soften, knead it for a couple of minutes.
Step 3 – Cut two pieces of wax paper or plastic wrap. Place the clay between the two sheets. Roll it out to a quarter of an inch thickness.
TIP! Use rolling pin silicone guide rings for an even thickness.
Step 4 – Wet the surface of your rolled-out clay. I dipped my fingers three times in water and rubbed it gently in a circular motion. Don’t overwet the clay!

Step 5 – Place the template on the air drying clay, face down. Lightly press it, and smooth it on the clay. Carefully rub each section. Leave it on for 1-2 minutes.
TIP! Lift one side to check if the design has transferred onto the clay. Don’t leave the paper on the clay for too long, you will have a hard time removing it.
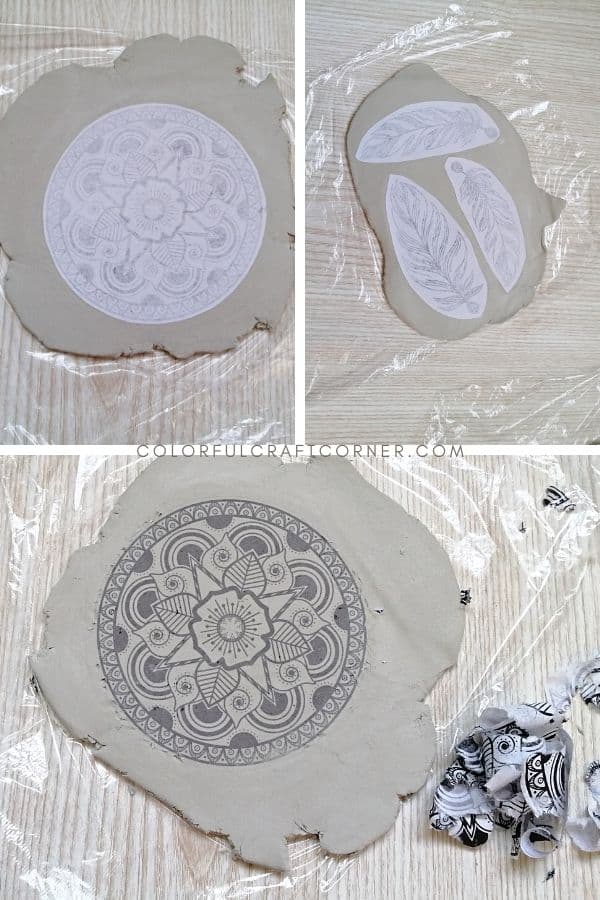
Step 6 – Use a large round cutter or a bowl to cut the dreamcatcher. Use the plastic straw to create the holes (so you can attach the feathers and hang). Smooth out the edges with you fingers.
Step 7 – Repeat steps 3-5 with the feathers.
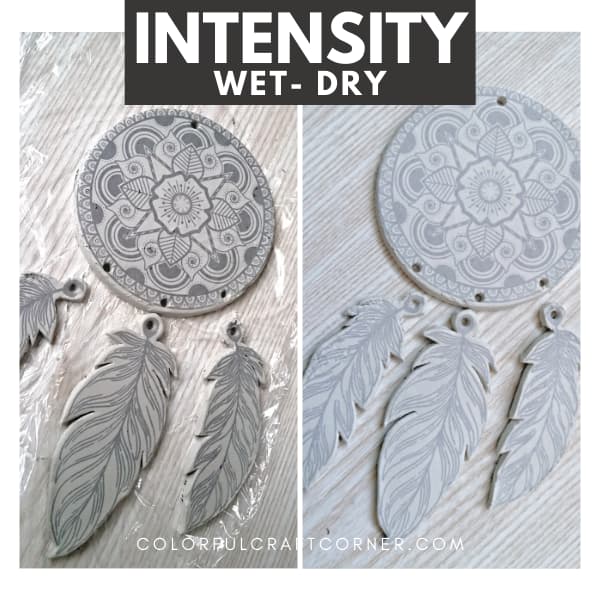
Step 8 – Leave the pieces to dry (approximately 24-48 hours).
Step 9 – When your clay pieces are dry, sand off any rough edges. Dust them off with a clean and soft cloth or brush.

Step 10 – Color as you like! For me, it was easier to use markers for this project. You can also use acrylic paint and a brush. Apply a coat of varnish to protect and make your air drying clay craft more durable.

Step 11 – Assemble your clay dreamcatcher using large metallic jump rings or wire. You may also use twine or thread but in my opinion, the metallic accents suit this craft better.
Step 11 – Enjoy your new beautiful clay wall hanging!

Air dry clay wall hanging video tutorial
FAQ
How to keep air dry clay flat?
Dry your clay pieces slowly, on a flat surface, like a table, and turn them occasionally to avoid curling and keep them nice and flat. Thin clay pieces are more prone to curling, also some brands (in my experience, the Activa Plus air drying clay) are more prone to distortions.
DAS air modeling paste is one of my favorite clay brands. You can read my experience with it in this article.
Can you drill air dry clay?
Yes, you can drill dried air modeling clay. However, I recommend punching the holes while the clay is still wet. The clay may crack or break when drilling holes, especially at the edges.
How to hang air dry clay?
Always pick a material that is strong enough to hold the clay wall hanging. If you have larger pieces, the craft gets quite heavy. Twine, leather, metallic chains (not too thin), or thicker thread are also good options. You can use a jump ring or add it directly to the hole.
Helpful clay tips and hacks
- Don’t try to remove every tiny piece of wet paper. When the clay dries, you can carefully scrape the paper bits with your nails, without damaging the clay.
- Don’t add too much water. It makes the clay weaker and more prone to cracking. The goal is to ‘activate’ the surface of the air drying clay, so the ink can transfer.
- The image will transfer pretty fast. Don’t leave the paper on the wet clay for too long, cause it will stick to it. Always peel the template slowly, holding it close to the clay.
- Colored designs also work with this technique. But, they dry to a very light, pastel color.
- In my experience, image transfer onto clay only works with inkjet printers, with their original ink.
- I made my template using Canva. You can find tons of beautiful designs, graphics, fonts, and patterns you can use.
Final thoughts about this handmade clay wall hanging
This easy DIY clay wall hanging is my favorite air drying clay project so far. It’s so simple to make and the outcome is stunning!
You only need a package of DAS air modeling clay, a printout design, and a few basic tools you already have at home.
I’ll definitely use this technique for other clay projects. Stay tuned, because I’ll share a tutorial using colorful patterns.
I hope you liked it and will try it!
Other easy and fun air dry clay ideas for adults
