How to make snowflakes with paper and scissors
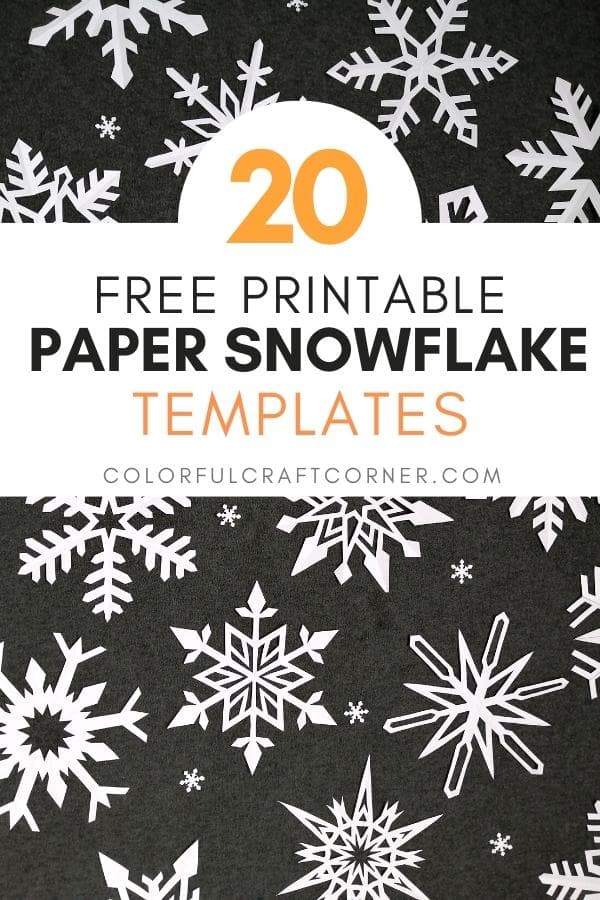
In this blog post, I will show you how to make snowflakes. Creating beautiful paper snowflakes has never been easier. Download the free printable snowflake templates, print them, and cut them out for instant Winter decor.
Before I gave birth to my son, I worked at a school for disabled children. The building had many huge windows that we decorated according to the season. The first Winter, with two of my colleagues, we cut out tons of paper snowflakes in various sizes. They looked amazing!
I decided that I’m going to share with you a few of these paper snowflake patterns. To make them feasible for everyone (even kids), I turned them into printable templates in a PDF format.
They come in two sizes, and I also included the folding and cutting instructions. With the PRO tips, you can create the perfect snowflake.
Let the winter fun start!
DISCLOSURE: THIS POST MAY CONTAIN AFFILIATE LINKS, MEANING I GET A COMMISSION IF YOU DECIDE TO MAKE A PURCHASE THROUGH MY LINKS, AT NO COST TO YOU. PLEASE READ MY DISCLOSURE FOR MORE INFO.
Tools and supplies
- white paper (printer paper, tissue paper, or origami paper),
- printer,
- a pair of scissors,
- paper trimmer (optional).
How to cut paper snowflakes
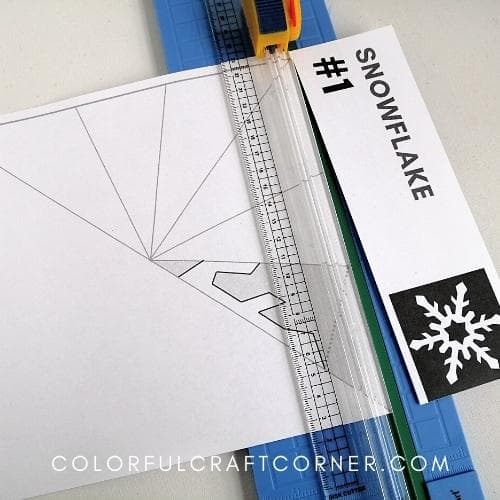
Step 1 – Print and prepare
Print out the free snowflake templates and cut the edges. I used a pepper trimmer because it’s faster, but you can use scissors.
Step 2 – Folding
Fold your square piece of paper in half along the diagonal line.

Fold the resulting triangle in half.

Use the guidelines to fold the smaller triangle. First, fold the triangle with the pattern.

Flip it and fold the other side.
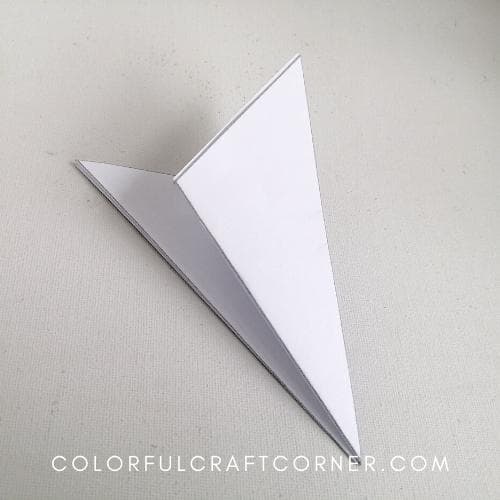
Press the edges firmly to have nice, crisp edges.
Step 3 – Cutting
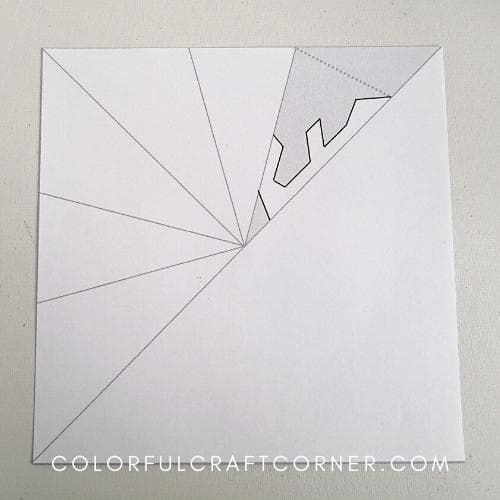
Trim the protruding parts so they won’t bother you while cutting.

Cut along the black lines and remove all the light gray areas.

PRO TIP: Hold the paper firmly so the paper layers won’t move. You can also use a stapler to keep the paper steady. Make sure to staple the gray parts that you will eventually remove.
Step 4 – Open and flatten
Open up the snowflake gently, layer by layer. Separate and flatten all the parts. I like to put them under a book for a couple of hours before using them for decorating.

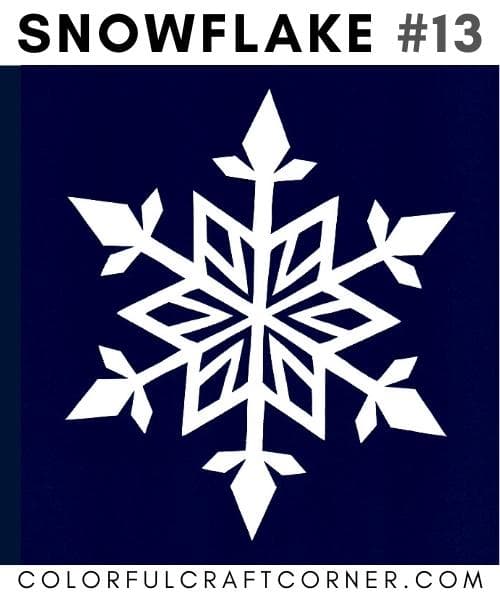
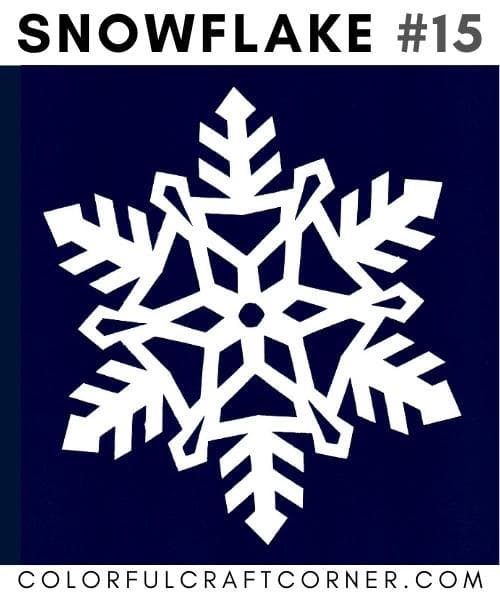
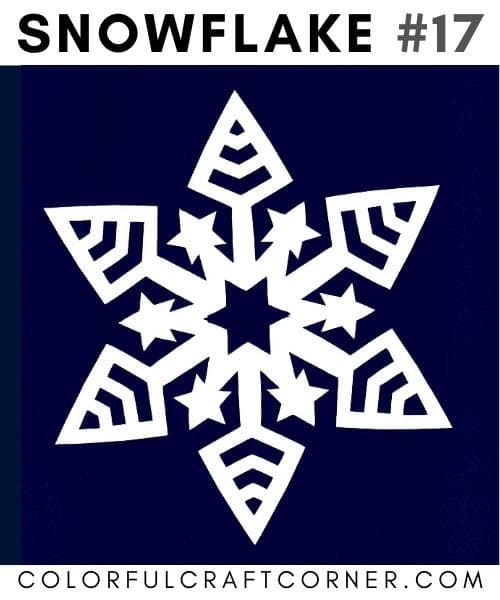
Free printable templates
The PDF files have 20 different snowflake designs. I created a few simple designs and several intricate designs. They also include a blank template with the cutting and folding guidelines to create your own snowflake design.
The patterns come in two sizes, the large snowflake template in letter and the A4 size, and you can download the small snowflake templates in A5 size (two snowflake designs on an A4 page).
The printable files are free and for non-commercial use. You can download and print them as many times as you like. They are only for your personal use. Use them to decorate your home, create snowflake stencils, snowflake coloring pages, and other fun craft ideas.
Please don’t claim them as your own or sell them in a digital or printed format (in craft books, activity books, etc.)
To download the easy snowflake patterns, pick a size and click the button below.
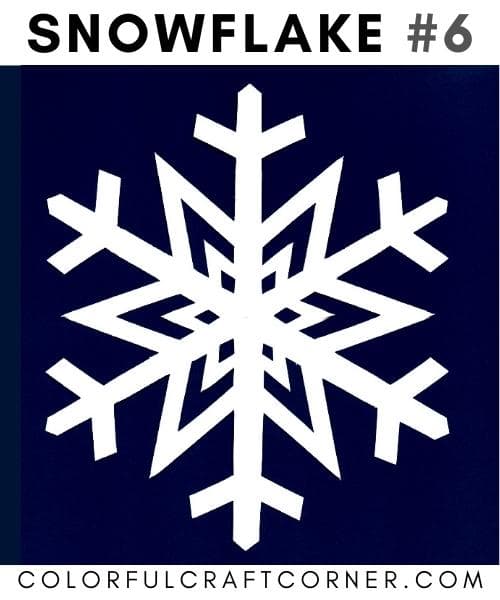
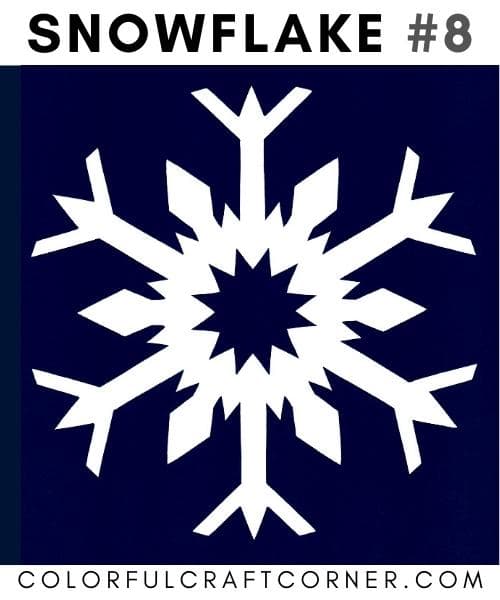
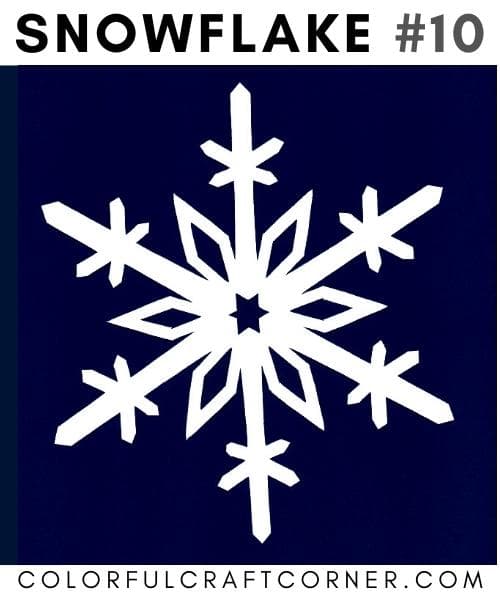
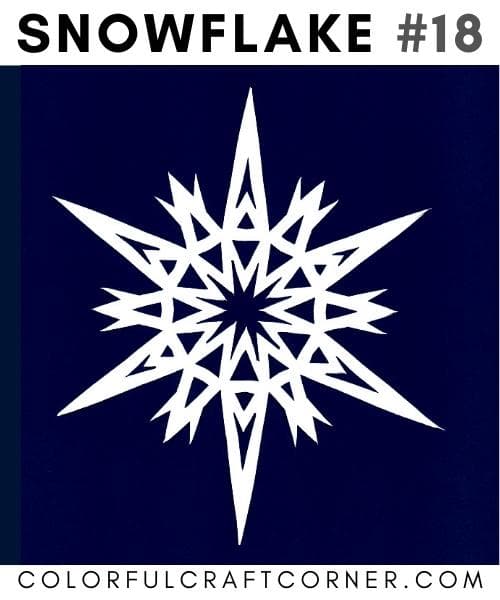
the snowflake designs


PRO tips
- You can also use origami paper. They are handy because they come in square sheets in various colors, patterns, and sizes. You can pick a plain white paper, go for a luxurious look with silver foil or create sophisticated snowflakes with translucent mulberry paper.
- Iron the finished snowflake on a low setting or press them before use.
- Add a coat of spray starch for crispness and body before ironing.
- Secure the paper with a stapler after folding it. this will prevent the layers from moving, which may result in asymmetric snowflakes.
- Always use sharp scissors! A blunt tool will tear the paper or leave you with serrated cut lines.
- Fold precisely! Uneven folding results in asymmetric snowflakes. Also, press along the edges for a crisp look, preventing paper from moving around.
- Snowflakes with straight lines are easier to cut than snowflake designs with curvy lines. I only included in the free templates the first type because I like them more, but you can experiment to find your favorites.
Video tutorial
Watch how I fold and cut out one of the easier snowflake patterns. I will also show you how I draw a new design with a pencil and ruler on the blank template.
Paper snowflake craft ideas
These beautiful snowflakes look fantastic displayed on their own, but you can also use them for other fun projects.
- Decorate your windows, bulletin board, classroom door, etc., for the winter season.
- Create a snowflake garland for your mantel or windows.
- Make a winter backdrop for your candy bar.
- Hang them on an embroidery hoop to create a wonderful snowflake mobile.
- Attach them to pieces of fishing line and tape them to your ceiling. This will create the perfect Winter wonderland look for a party.
- Turn them into a wreath or Christmas tree (tutorial by The Navage Patch).
- Make Christmas ornaments by adding a coat of spray glue and glitter to both sides.
- Put them below clear plates for a Winter themed table setting.
- Decorate the gifts covered with brown wrapping paper.
- Turn them into wonderful snowflake suncatchers (see this tutorial by Happiness is Homemade).
Final thoughts about paper snowflakes
Paper snowflakes are a great addition to your home around the holiday season. It’s the perfect Winter activity for the whole family.
Cutting snowflakes improves fine motor skills and hand-eye coordination. If you use regular paper, the various layers make it stiff and hard to cut. Pick thinner paper (e.g., tissue paper) and simple designs for little kids.
My free printables include 20 patterns, but I will add new designs next year. You can also search for other free templates online; for example, these Star Wars snowflake templates by Anthony Herrera Designs look super fun!
Experiment! Create your own designs, it’s so much fun to see how they turn out after cutting.
Which snowflake pattern is your favorite? Leave a comment!
Other snowflake projects you may like: