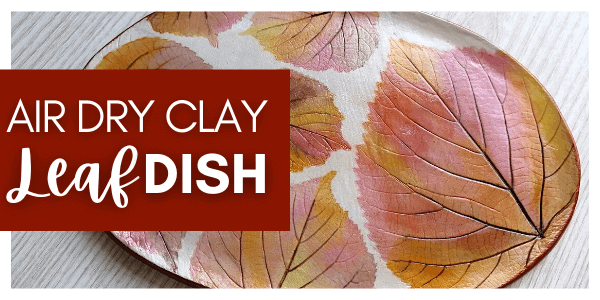
DIY Air Dry Clay Plate with Leaf Prints
Learn how to make an easy and beautiful air dry clay leaf dish for fall. This craft is perfect for beginner crafters!
I had to do some decor for fall! I was planning last year and the year before to make some subtle decorations for fall, but eventually, I never did them. Always came another idea, weeks passed and I rather made something for Christmas.
‘This year will be different,’ I promised myself. I’m in an air drying clay craze for the past couple of months. I’ve been experimenting with different brands, crafts, techniques. So, it had to be a clay craft!
Air dry clay leaf bowls and dishes are trending. I’m not surprised because they look amazing! One day I came across a lovely video tutorial featuring a mom and her daughter (I think a teen). They made the most stunning clay leaf bowls colored with watercolors.
I had to make my own version! So, here we are. If you are curious, check out their video here.
Now, let’s dive in and see how I made my clay plate or dish with leaf prints.
DISCLOSURE: THIS POST MAY CONTAIN AFFILIATE LINKS, MEANING I GET A COMMISSION IF YOU DECIDE TO MAKE A PURCHASE THROUGH MY LINKS, AT NO COST TO YOU. PLEASE READ MY DISCLOSURE FOR MORE INFO.

Leaf Dish Tools and Supplies
- air dry clay (I used white DAS clay),
- leaves in various sizes,
- a craft knife or other cutting tool,
- watercolors + a small glass with water,
- a brush,
- metallic acrylic paint,
- rolling pin,
- plastic wrap or wax paper,
- a plate or bowl,
- glossy varnish,
- sandpaper (optional).
If you’re curious, you can find out why I like DAS air hardening clay from this blog post.
OTHER DIY FALL DECOR POSTS YOU MAY LIKE:

Step-by-Step Instructions
Step 1 – Pick a couple of leaves in various sizes. Leaves with thicker veins are more suitable for this craft.
Step 2 – Carefully wash off any dirt. I also pressed the leaves for a few hours. Flat leaves result in a cleaner look.
Step 3 – Grab a good chunk of air drying clay. Knead it for a couple of seconds.
Step 4 – Roll out the clay to a 1/4 inch of thickness on a piece of plastic wrap or wax paper.
Step 5 – Smooth out any wrinkles. I like to do it on the bottom first then flip it and fix any imperfections on the top.
Step 6 – I made an oval template based on my plate you can make a simple circle, rectangle, or square. Lay the template on the clay, and run your fingers around the edges.
Step 7 – Slightly wet the surface of the clay by dipping your fingers in water and rubbing it on in a circular motion. This will help to stick the leaves to the clay.
Step 8 – Arrange the leaves and press them into the clay. Carefully go over the leaves with the rolling pin. Make sure they don’t move.
Step 9 – Remove the leaves.
Step 10 – Lay your template on the clay and cut it around with the craft knife. Remove any excess clay.
Step 11 – Transfer the clay dish to a plate or bowl (depends on how curved you want it to be).
Step 12 – Wet your fingertip and smooth out the edges.
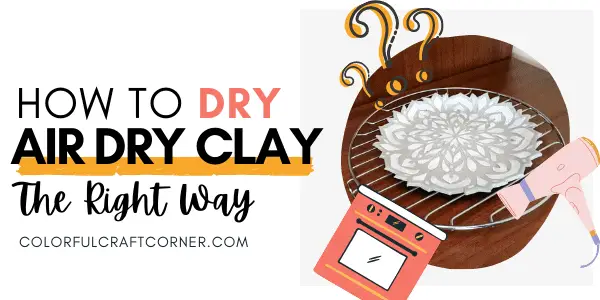
Step 13 – Leave it to dry for 36-48 hours. (This article will help you with drying clay properly)
Step 14 – If you see any imperfections, smooth them out with sandpaper.
Step 15 – Mix your colors. I used all the fall colors yellow, orange, red, purple, and brown. Start applying them to the leaves in blotches.
TIP! Wet the leaf you intend to color with plain water before adding paint, so they mix and blur nicely.
Step 16 – Add a darker brown-black paint to color the veins. Let the paint flow in the lines.
Step 17 – Let the paint fully dry.
NOTE! Watercolors will fade after drying. You can add it in more layers to make them more prominent, but take into consideration, varnish with a glossy finish will enliven the colors.
Step 18 – Paint the edges with metallic acrylic paint. I chose copper paint to match in colors. This step is optional, but I think it does complete the dish nicely.
Step 19 – Seal the clay leaf dish. I am more of the ‘matte finish’ – type of girl, but I think this plate looks a lot better with a glossy finish.
Step 20 – Add a battery-operated candle, fill your gorgeous air dry clay leaf plate with fall goodies like mini pumpkins, berries, acorns, chestnuts, pinecones, cinnamon, etc., and turn it into a stunning fall table centerpiece.
For example, this bag of fall potpourri would be perfect!

Clay Dish Video Tutorial
If you want to see me do the leaf dish step-by-step, watch the video tutorial!
Tips and Hacks
- Leaves with strong, thick veins are best for this craft! I used linden leaves, but chesnut or maple leaves are also perfect.
- Don’t over-wet the clay when adding the leaves. Too much water makes the clay more prone to breakage.
- Check the leaf print by lifting only one edge. Dont’s remove the entire leaf. If it hadn’t transferred well, place it back and roll over it again or use a blunt tool and carefully push it in.
- You can always remove excess paint with a paper towel. Just do it as quick as possible, because dry clay absorbs moisture pretty fast.
- Watercolors will fade after drying. Applying a glossy varnish will enliven them, however a matte finish sealent improves the color just a bit.
- When applying the varnish, don’t brush it for too long because it will smudge and spread the pigment from the leaves onto the white areas.
- Create a different effect with soft pastels. Rub them on your fingers and apply it to the leaves. The veins will stay white. This method works better for single-leaf bowls.
Final Thoughts about the Clay Leaf Dish
This is a super simple fall craft idea. I’m sure kids would also love to help or make their own if they are big enough.
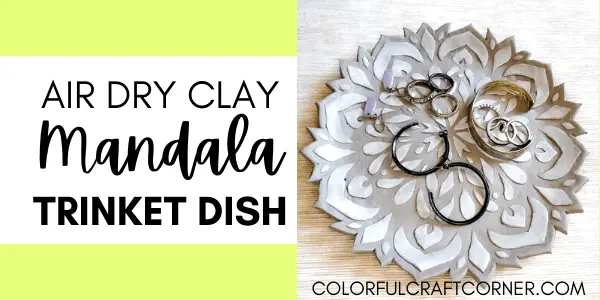
If you are a fall-vibes-at-heart girl like me, you can also use this clay leaf dish as a jewelry holder, keyholder, or add potpourri to make your home smell good.
I hope you liked this clay craft idea! Do you like to craft with air dry clay? What fall decor do you plan to do this year? Leave a comment!
RELATED AIR DRY CLAY ARTICLES: