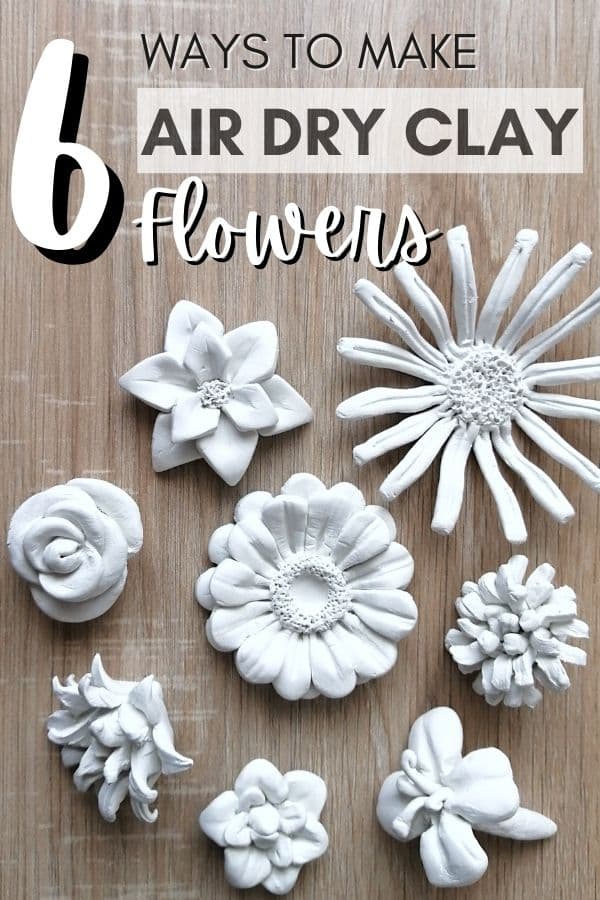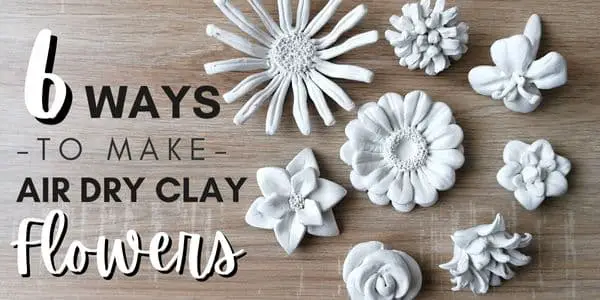
How to make flowers using air dry clay
This blog post will show you how to make simple and beautiful air dry clay flowers with six simple methods that are suitable for beginners too.
Most DIY air-dry clay flower tutorials are made with lightweight clay. You can mold, stretch, and roll them out ultra-thin to create realistic petals without breakage or cracks. Some clay brands, for example, Hearty and Modena, are super light, flexible, and durable. Perfect to create detailed, lifelike flowers.
I wanted to experiment with clay flowers that are thicker, chunkier, and look more like ceramic flowers. So, for this project, I used basic Fimo air drying clay. They are easy to make and perfect for beginners!
With these six simple methods, you can make almost any flower. Some give you more control over the look; others are more experimental but still a lot of fun!
Let’s dive into clay flower making!
DISCLOSURE: THIS POST MAY CONTAIN AFFILIATE LINKS, MEANING I GET A COMMISSION IF YOU DECIDE TO MAKE A PURCHASE THROUGH MY LINKS, AT NO COST TO YOU. PLEASE READ MY DISCLOSURE FOR MORE INFO.
Air dry clay flower ideas
1. Petal by petal
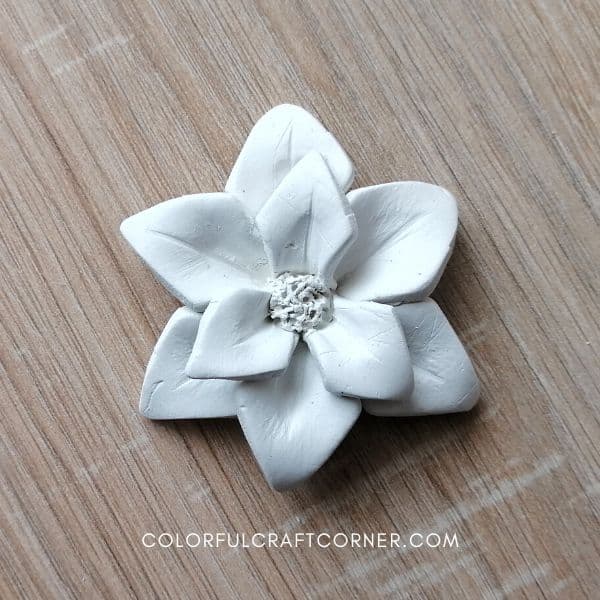
With this method, you have the most control over the final look. It can be more time-consuming since you add the petals one by one.
Best for flowers: roses, tulips, poinsettia, etc.
How to – clay poinsettia
- Use a cutter or shape the petals free-handedly. I used a rhomb cookie cutter for my flower and shaped them with the end of the brush.
- To create a base, I made a small circle. I used my craft knife to score in a crosshatch pattern on the back of the petals, at the bottom where I wanted to stick them.
- Apply water or clay slip before sticking the petals to the base for a stronger bond.
- Add all the petals, and adjust and shape where needed.
- Create a small hollow in the center of your flower with the back of the brush. Add a small clay ball (slip & score) and use a toothpick to create seeds/center.
2. Flower cookie cutter
Best for flowers with lots of petals, for example, gerbera, lotus

How to:
Model 1 – clay gerbera
- Pick a flower cookie cutter. Mine has 12 petals.
- Roll out the clay and cut out two flowers.
- Use a craft knife to separate the petals (be careful, don’t cut in too much), then shape them with your fingers and a toothpick.
- Slip and score the back of one flower and the center of the second flower. Stack them and push their center firmly.
- Cut out a circle the size of the flower center. Slip, score, and add it to the flower. Shape and add details with the toothpick.
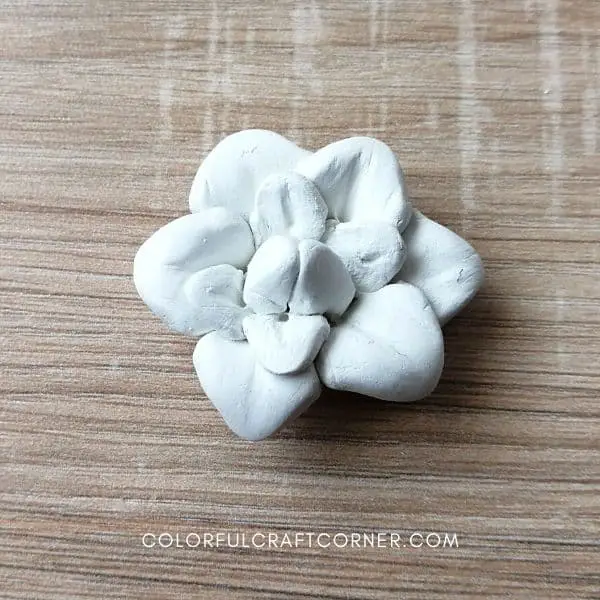
Model 2 – clay succulent
- Use a six-petal flower cookie cutter in two sizes.
- Roll out the clay and cut out two flowers.
- With your craft knife, cut towards the center to separate the petals.
- Stack the flowers with the smaller ones on top.
- Fold and press together two small petals to create the center.
- Arrange and stick the others around this centerpiece.
- Use a toothpick to add details to the petals.
3. Rolled up
Best for flowers: carnation, but simple roses too or to create the center of the flower
How to:
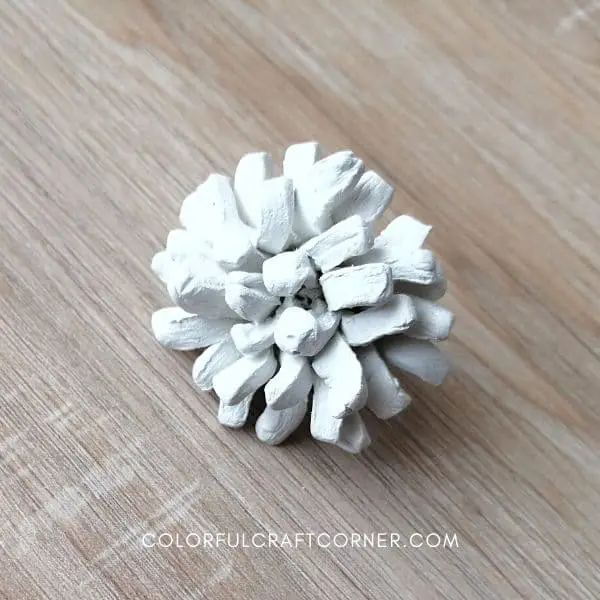
Model 1 – clay chrysanthemum
- Roll out a piece of clay.
- Cut a long rectangle.
- Use your craft knife or a blade to make lots of cut-ins like on a comb.
- Score and slip the bottom part on both sides and roll it up.
- Try to press and roll the bottom part tightly, and arrange the top so the pieces won’t stick together.
- Trim, arrange and shape the petals.
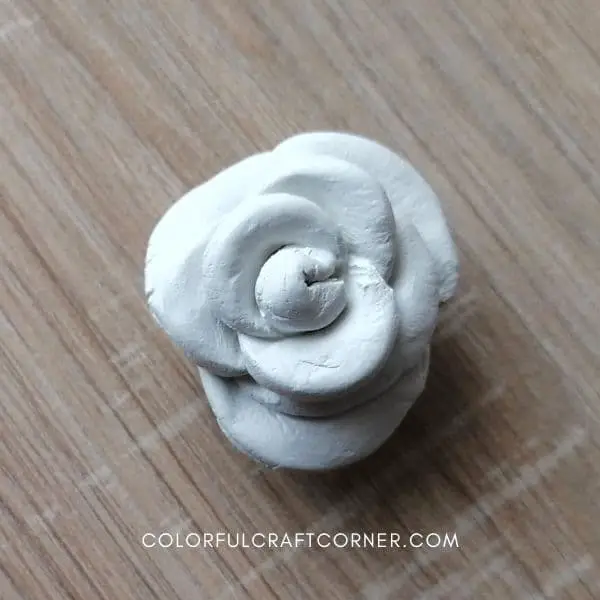
Model 2 – clay rose
- Cut out two big and five small circles. Cut the bigger ones in half and trim the bottom of the smaller ones.
- Slip and score along the cuts.
- Stick the pieces together at their tips. start with the half circles.
- Roll them up!
- Arrange the petals. Use a wet brush to separate the petals and to smooth out imperfections.
4. The starburst
Best for flowers: daisies and other thin-petaled flowers

How to – clay aster flower
- Roll out clay into a long, thin cylinder (like a snake).
- Cut eight equally long pieces. (Mine was approximately 8 cm = 3.15″ long.)
- Stack them. First, make a cross, then add one piece to every diagonal. Press the center. Continue until you have the sunburst.
- Lightly flatten the petals and shape them with the toothpick.
- Cut a clay circle, slip and score and attach it to the center. Add detail with a bamboo stick or toothpick.
- Arrange the petals and let the flower dry. (I put mine in a cup to lift the petals.)
NOTE! The most fragile clay flower unless you make it thick and large.
5. Pinch flowers
Best for flowers: lilac or tuberose
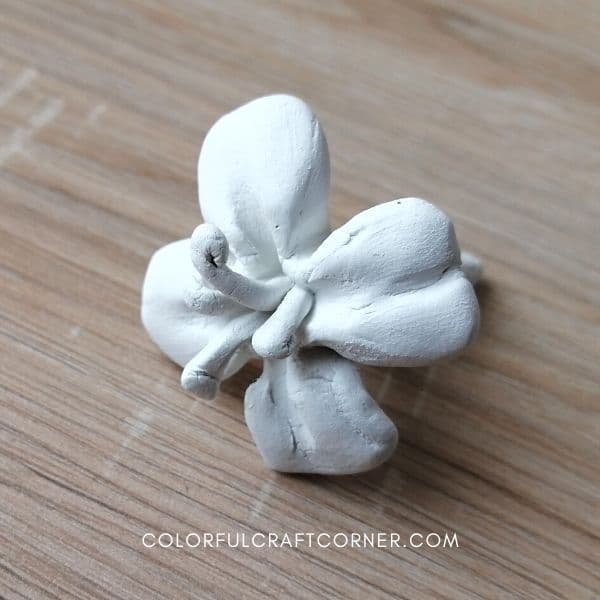
How to:
- Mold a piece of clay into a teardrop.
- Make two perpendicular cuts (in a cross shape).
- Open up the pieces and start to shape the petals. (With this cut, you’ll have four petals, but you can make more cuts for more petals).
- Use the end of your bamboo stick to create a hollow in the middle of the flower and add some stamens.
6. The scissor flowers
Best for flowers: dahlia, clover flower, celosia, protea, and lavender.

How to:
- Shape a ball or teardrop with your clay.
- Use a small, sharp, and pointy scissor to create the petals.
- Work your way up from the bottom to the top.
- Shape and adjust the petals until you are satisfied with the look.
Tips and hacks
- I like to use a damp, soft brush to smooth out the imperfections and to separate the petals where needed.
- Skip painting your flowers by mixing acrylic paint into clay to create beautiful colored flowers. This method is perfect for creating pastel flowers. If you’re looking for bright and vivid colors, paint the flower after they have dried.
- Use petal cookie cutters and silicone texture molds (veiners) to create realistic flowers.
- Add more details to your dried clay flowers by carving them with a sharp tool. Be gentle; the petals are fragile!
- Carefully sand the petals to remove imperfections and for a super smooth finish.
Video tutorial
FAQ
How to create the flower center
You can use several tools and methods to create flower centers. As you can see, I usually cut out a circle and add details with a toothpick.
Other fun ways:
- A sieve adds a texture that’s perfect for sunflowers.
- Use the roll-up method, but make the piece thinner, narrower and shorter.
- Attach tiny clay balls. You can leave them as is or add details with a bamboo stick.
Observe the flower you want to recreate and experiment with the clay to achieve the best look.
How to dry air dry clay flowers
Dry flat flowers on baking paper on a flat surface. Flip them occasionally to avoid curling and maximize airflow.
For 3D flowers, I like to use a rack. These clay flowers are usually thicker, so they may take several days to cure.
If you want to lift the petals or dry them in a certain shape, you can use a bowl or cup or create ‘supports’ using tin foil. Remove it after the flower is dry.
Which clay is best for making flowers
The best air dry clay for realistic flowers is lightweight clays like Hearty, Modena, or cold porcelain. For thicker, chunkier, ceramic-looking flowers, use DAS, Jovi, or Fimo air dry clay. I like DAS the most. It’s a bit stiffer and holds the petals better. It dries to an off-white color. They take paint well, but for no-paint, sparkling white flowers, I recommend Fimo.
Final thoughts about air drying clay flowers
This clay project was a fun experiment. It was the first time I made flowers using air dry clay, and I am very pleased with the results.
Next Spring, I will make a nice wreath with these wonderful clay flowers. I also have to try to color the clay before modeling to achieve wonderful pastel colors.
Which flower was your favorite? Would you like me to do more flowers and plants using clay? Leave a comment!
Related air dry clay projects:
- What to make out of air dry clay
- Butterfly and flower Easter clay ornaments
- Fantastic air dry clay pot ideas