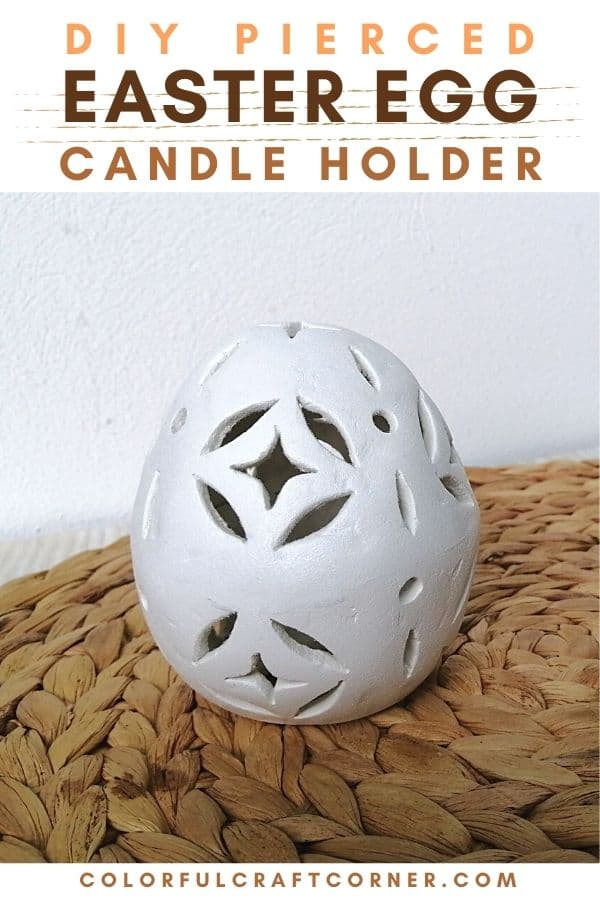
How to Make an Easter Egg Candle Holder
I love pierced home decorations, so I knew I had to make one when I saw a beautiful punched Easter Egg luminary. So, in this post, I will show you how to make a pierced Easter candle holder with handmade mini cutters.
Easter has already passed, but I had to share this craft with you. You can use this idea and create a floral sphere for Spring, or make snowflake cut-outs and turn it into a Christmas decoration later this year. Maybe save this idea for next year!
This air dry clay craft is not as hard as it may seem. However, you need some precision to make it look stunning. I was in a rush, so my egg had some flaws. I will learn from my mistakes and make another one next year.
I searched Google for Easter decor ideas when I found these beautiful egg decorations on Pottery Barn. This pierced egg inspired the central concept, and the punched zinc egg inspired the pattern.
You can read the lessons I learned from this Easter egg craft at the end of the post.
This craft is the last one from a three-part Easter DIY series:
Let’s get crafty and make this Easter Egg candle holder.
DISCLOSURE: THIS POST MAY CONTAIN AFFILIATE LINKS, MEANING I GET A COMMISSION IF YOU DECIDE TO MAKE A PURCHASE THROUGH MY LINKS, AT NO COST TO YOU. PLEASE READ MY DISCLOSURE FOR MORE INFO.

Tools and supplies to make a punched Easter egg:
- air dry clay (I used DAS because, in my experience is less prone to cracking),
- soda can (or you can get mini clay cutters from this shop),
- a styrofoam egg,
- aluminum foil,
- rolling pin,
- craft knife,
- scissor,
- acrylic paint,
- brush,
- craft glue,
- superglue,
- sandpaper,
- varnish.
Step-by-step instructions:

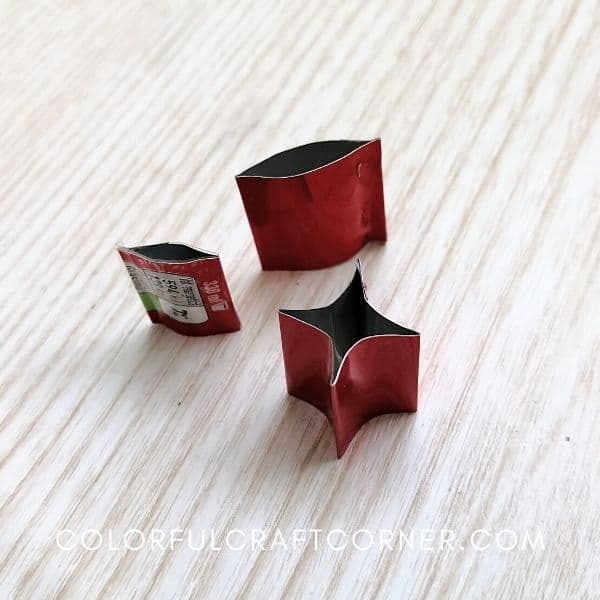
1. How to make the mini cutters
Step 1 – Cut off the top and the bottom part of the soda can.
Step 2 – Cut three rectangles of different lengths.
Step 3 – Fold a 3 mm part at one ending (you will use this for gluing), then fold the rest in half.
Step 4 – Glue them together with superglue. You can use clothes pegs to protect your fingers.
Step 5 – Use a screwdriver or a needle to separate them.
Step 6 – Shape the pieces as you like. I made a smaller and a bigger leaf and turned the largest piece into a four-point star.
NOTE! Be careful not to glue your fingers together!
2. How to make the pierced Easter egg
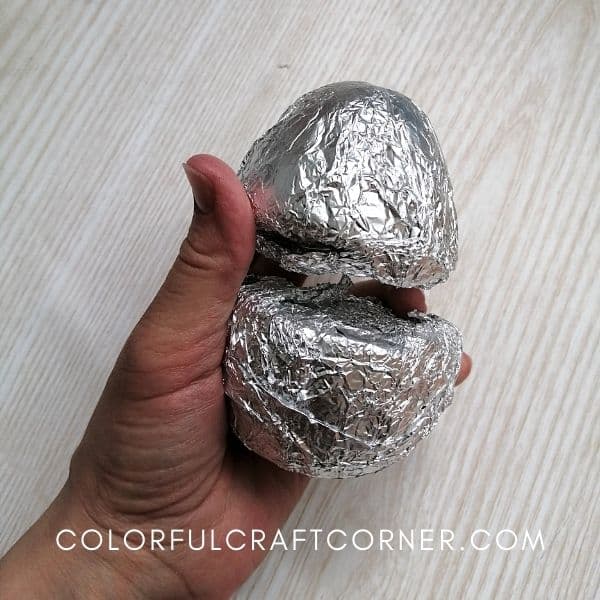
Step 1 – Cut a styrofoam egg in half (vertically) and wrap it with a double layer of tin foil. (I used an egg from an old, failed craft)
Step 2 – Knead a piece of air drying clay, then roll it out evenly to a 1/4-1/6 inch thickness.
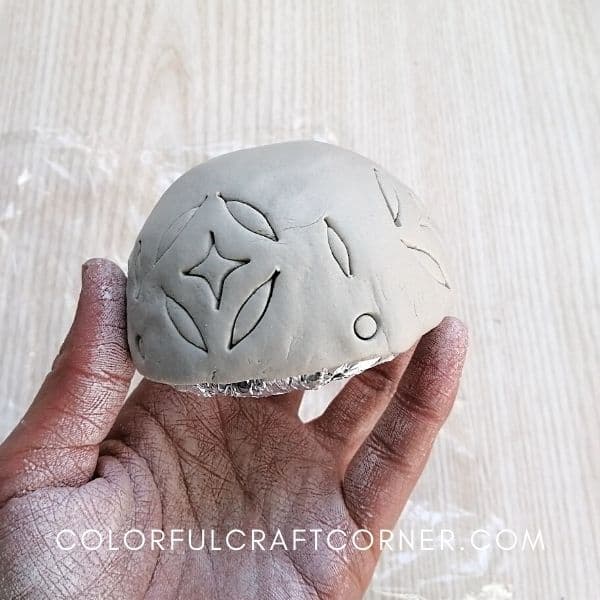
Step 3 – Wrap both eggs with clay. Don’t cover the bottom. Smooth it as well as you can.
Step 4 – Trim them, so they have a nice flat edge.
Step 5 – Use your new mini cutters to create the pattern.
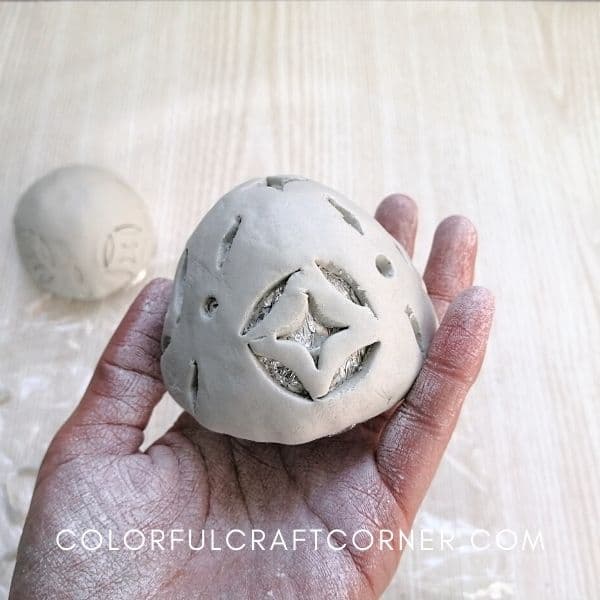
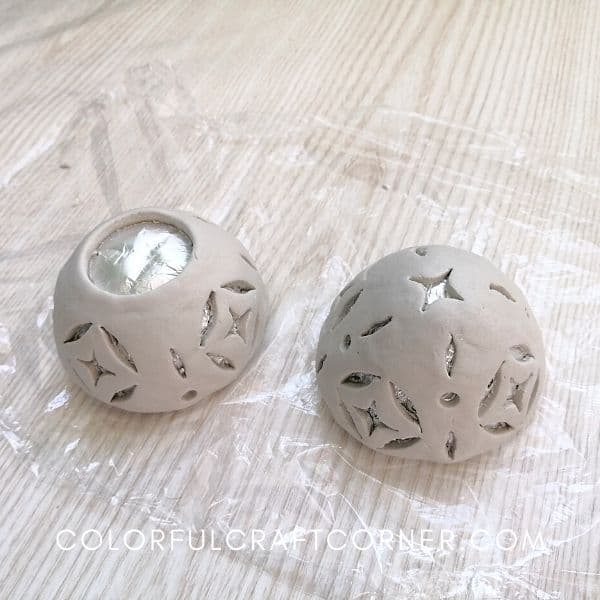
Step 6 – Make a hole in the bottom part of the egg for the candle. I separated a battery-operated LED candle and used the round plastic shell. You can skip this step if you don’t want to add a candle.
Step 7 – Leave them to dry for 24-48 hours.
Step 8 – Carefully remove the clay from the eggs. Slowly peel off the aluminum foil.
Step 9 – Sand the edges, so they become flat and even.

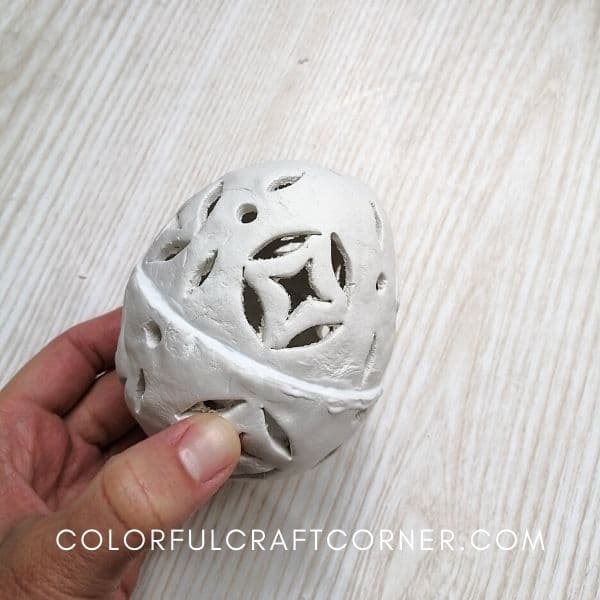
Step 10 – Apply craft glue to the edge and join the two parts. It’s okay if not perfect. You can adjust later.
Step 11 – Leave it to dry thoroughly.
Step 12 – Grab small wet clay pieces and patch the holes around the join. You can also try to do it on the inside for the best result.
Step 13 – Leave it to dry for a couple of more hours. I let it approx. 2 hours.

TIP! You can tell if it’s dry when the clay has the same shade and has room temperature (wet clay is cold). You can also test it by pushing your nail into the clay. If it only leaves a tiny mark, the clay is dry.
Step 14 – Sand thoroughly. Smooth the outer layer and the holes for a nice, clean look.

Step 15 – Paint the egg. I applied white acrylic paint with a sponge. Since I wanted a solid color and brushes usually leave marks, I opted for the sponge.

Step 16 – When dry, apply a sealant to protect your beautiful DIY Easter egg decoration.
Video tutorial
Tips and lessons I learned
1. Don’t roll out the clay too thin. Even though DAS air hardening clay is durable, the cut-outs make it weaker, and it may crack while drying or break while you sand it.
2. Apply a coat of metallic paint to the inside of the egg for a chic look. White goes nicely with copper paint.
3. My two parts were slightly off in size. If I made both parts a bit longer than the styrofoam base, it would result in a nicer egg shape and make the joining easier and smoother.
4. Use thread or other tools to divide the egg into equal parts to make a more symmetric design.
5. Do not try to remove the eggs from the styrofoam while the clay is still wet. Yes, it dries slower, but it may deform while you try to separate the egg from the base.
6. Be careful with the DIY cutters. They may cut your fingers when you pierce the clay.
7. Always use air dry clay decorations with battery-operated candles!
Final thoughts about the clay Easter egg luminary
This craft may seem harder than it is. For this Easter craft, I highly recommend using DAS air dry clay. I tried several clays for different brands, but this is the most reliable. I never had a cracked piece with DAS modeling paste. You can read my honest review of DAS clay in this article.
As you can see, air drying clay is such an excellent and forgiving craft material. You can cover and fix imperfections with a piece of wet clay or sandpaper. I love it!
I hope you enjoyed my third Easter craft tutorial. You can find the links to the others in the section below.
Which one is your favorite? Leave a comment!
Related air-drying-clay Easter crafts:
- Air Dry Clay Easter Egg Ornaments with Flowers and Butterflies
- Floral Happy Easter Sign Made out of Clay
- Easy Air Drying Clay Bird Tutorial
- Cute Clay Easter Rabbits